Showing posts with label classroom management. Show all posts

Thursday, September 10, 2015

Seating Charts - the easy way

Creating seating charts for 24 classes with 600+ new students who you don't really know is VERY intimidating. I have spent a lot of years creating seating charts prior to the start of school only to figure out that students who shouldn't be together are, students have moved are missing and all my hard work needs tweeked.  I finally quit!

I changed how I make my seating charts at the start of the year and it is WONDERFUL.

This year I started by making a list of 32 famous artists. I then printed out two copies of this list and cut them out. I taped one set to the table and handed the other set to students as they entered the room. By matching their artist name with the name on the table they created their own seating chart.

There may be a few students who quickly showed they shouldn't be side by side but for the most part this has proved very successful. I give the students a task to accomplish and ask them to leave their planners out at their spot. As they are working, I walk around and copy down their names and fill out my seating charts.
** after 150 students (one day) the papers were showing some wear and tear so I switched it up and just wrote the names onto my tables with sharpies. (dry erase marker takes it off)**

It is easy to do and it frees up some of my precious pre-school starting time. Last year I used paint chips and wrote about it here.

Tuesday, November 25, 2014

20 Minute Classes

If your school is like mine there are a few times a year when your schedule is re-arranged for early outs. At NMS we have a few times when we have an 11:30 dismissal.  All the classes are still held but we only have 20 minutes per class period.  That isn't much time to get anything out, let alone accomplished.

Rob to the Rescue....

Rob from Art for Kids has a lot of really great "draw along" videos.  I love that he draws along with at least one of his own kids so it is super kid friendly.  He also has lessons broke down into different age groups and mediums.

Our last 11:30 dismissal was earlier this fall.  My 5th graders drew along to create an awesome owl.


recreated on the computer... how cool!

My 6th graders drew along to create a tough looking football player.

recreated with an entire football field


While these work great for as a time filler I have struggled with how I could make this into a creative activity.  I solved this dilemma by turning the project into a contest.  Each class drew along with Rob in during class time and then were given the following week (until I saw them again) to finish it in the coolest way possible.  Each grade level had the top 3 projects selected for a prize...
5th grade 1st. 2nd and 3rd place
6th grade 3rd, 2nd and 1st place


Friday, August 15, 2014

First Day and We Are Playing Candy-land...


Just kidding... but prepping for today I couldn't help but feel like I was getting ready to play candy land.

I decided to try something new for our first seating chart.  If your kids are like mine the first quarter is always a bit of a honeymoon.  They are so happy to be in your room and hang on your every word.  They follow directions and do EVERYTHING you ask.  
okay more like first day, maybe week, but you know what I mean...

Anyway... my seating chart planning started at the paint store.  I picked up three matching samples for each of the primary and secondary colors plus a neutral as I have 7 tables.  One paint sample was taped to the middle of the taped to identify it as that color of table. The other two were cut into color squares.  Once set of the color squares were taped to the corner of tables.
I taped the second set to white paper and laminated it.  As the students walked into the room they were given a colored card.  On the board was the directions to match their colored card to the table and have a seat.  When I entered the room we started into the "Rules and Regulations."  About 1/2 way through the class they get to work on their information card and I walked around the room writing down names and putting together the seating chart.  

A few things I realized:
  • in 6 classes I ended up with only 1 table of all boys/girls
  • students told me their names vs. me guessing pronunciations or abbreviations
  • students were active and engaged from the start of class, no more listening to me read names for 5 minutes
  • students started collaborating already, working together to get everyone to the right spot
  • it was easy to accommodate for class size.  My neutral table is my "extra" table and I would just add/remove the neutral paint samples as needed. 


Tuesday, February 11, 2014

Collaborative Wall Project

I start every year off with a collaborative project for my 5th graders.  It accomplishes several things:
  • they feel ownership in the room as their image covers our largest wall
  • I see a brief glimpse into their artistic skills
  • they fill out the back of their 4x6 card to tell me more about themselves
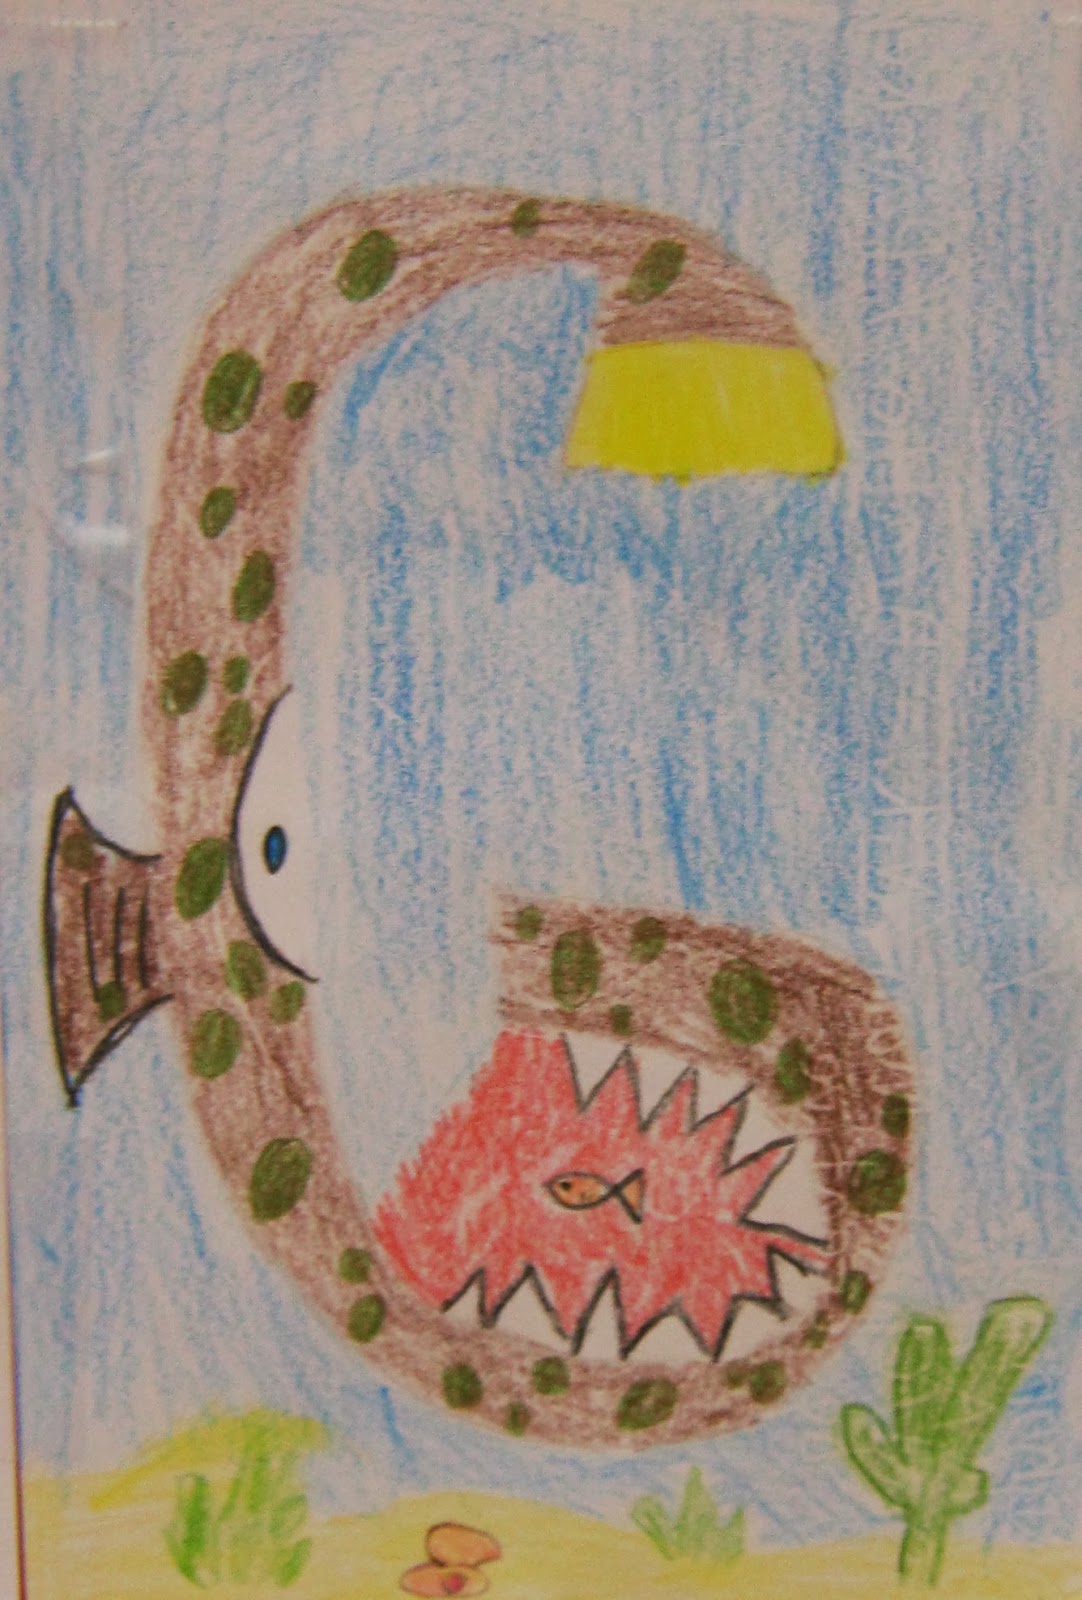
This year we did illuminated letters.  They created an image using their first initial and a material of their choice.


 and here is the entire wall.  I love it so much!

You can check out some past walls here

Wednesday, January 22, 2014

Printmaking Info...

This post isn't' so much about what my kiddos are making as much about how to survive printmaking with 300+ 6th graders.
photo credit
I love to introduce my 6th graders to printmaking and I have found Nasco's Safety Kut is the best stuff.  I can cut 31 4x6 pieces from each of these "Monster" sheets with one 2x6 piece left over.  At $36.78 a sheet it comes out to about $1.00 a student BUT you can use both sides so my students get a block printing lesson and a mono print lesson from one block (or I could reduce the project to .50 if they shared).

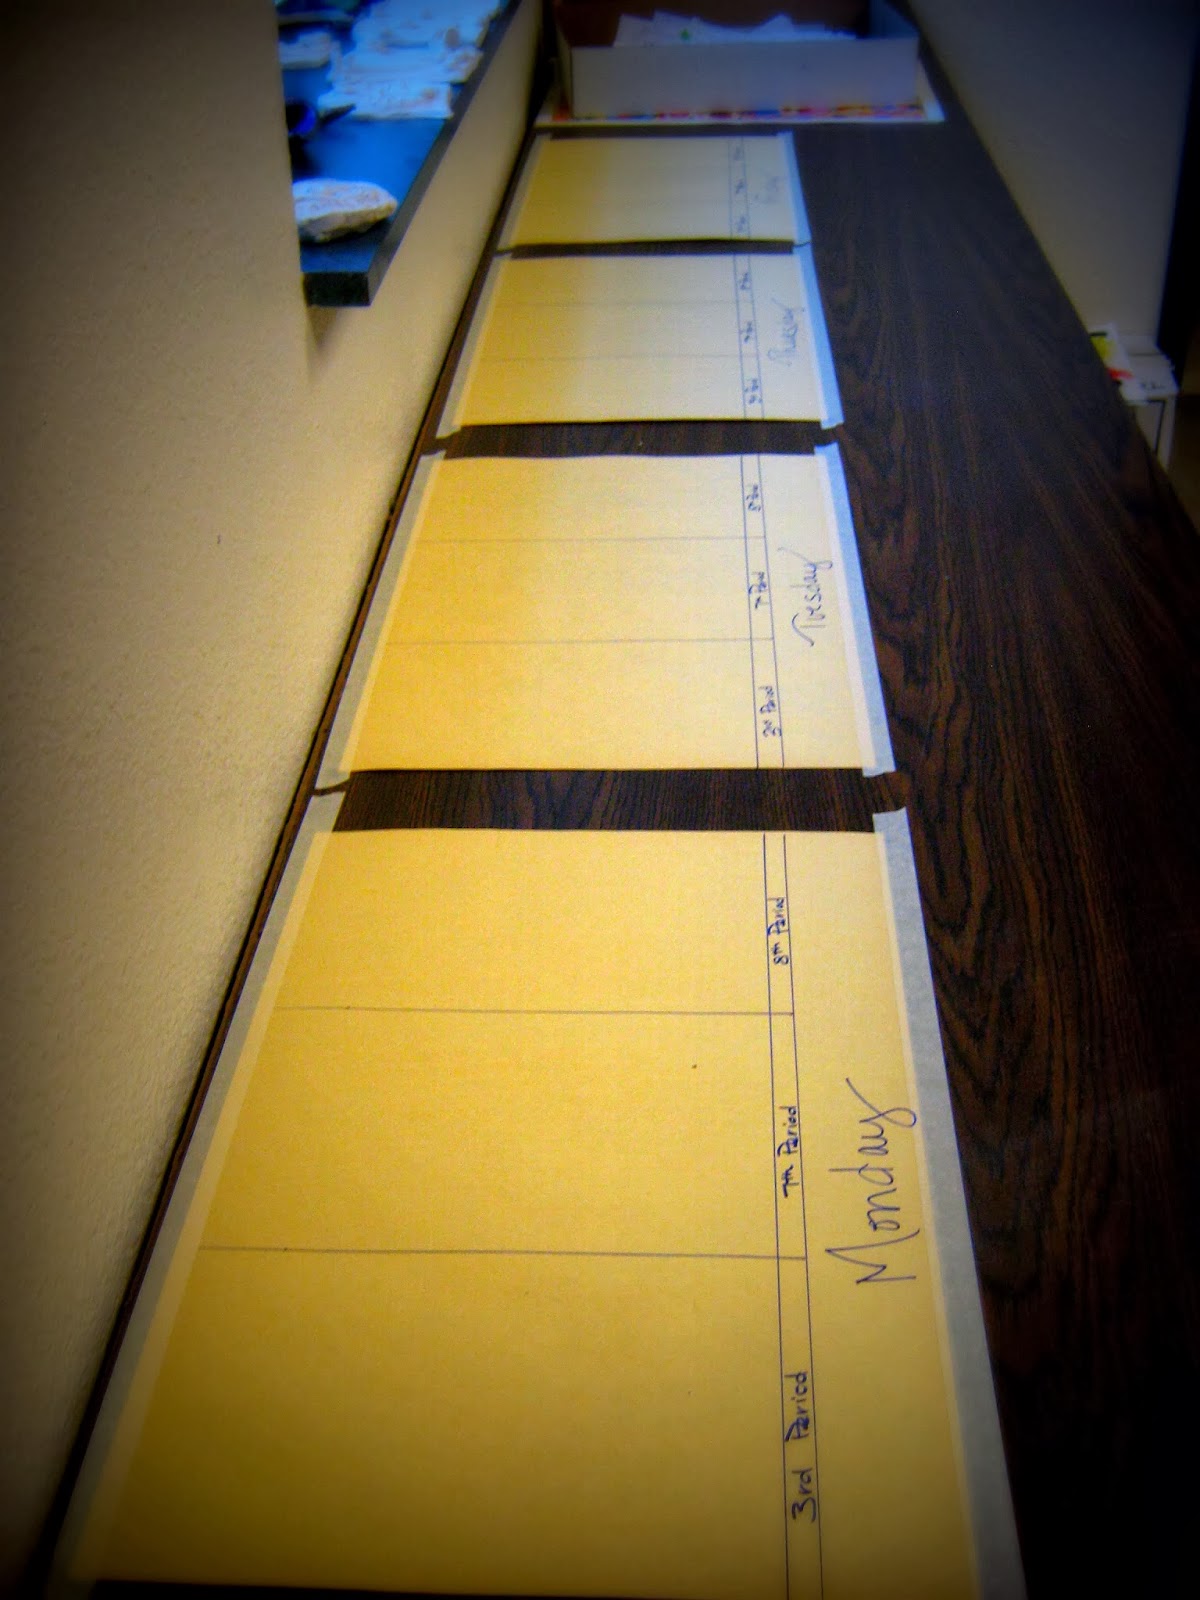
After cutting all the blocks (easy but a little tedious if you do all 300 at the same time).  I organize them on the back counter by class.  I have 4 days worth of students with 3 classes a day.  I create these manila papers to keep all the blocks organized.

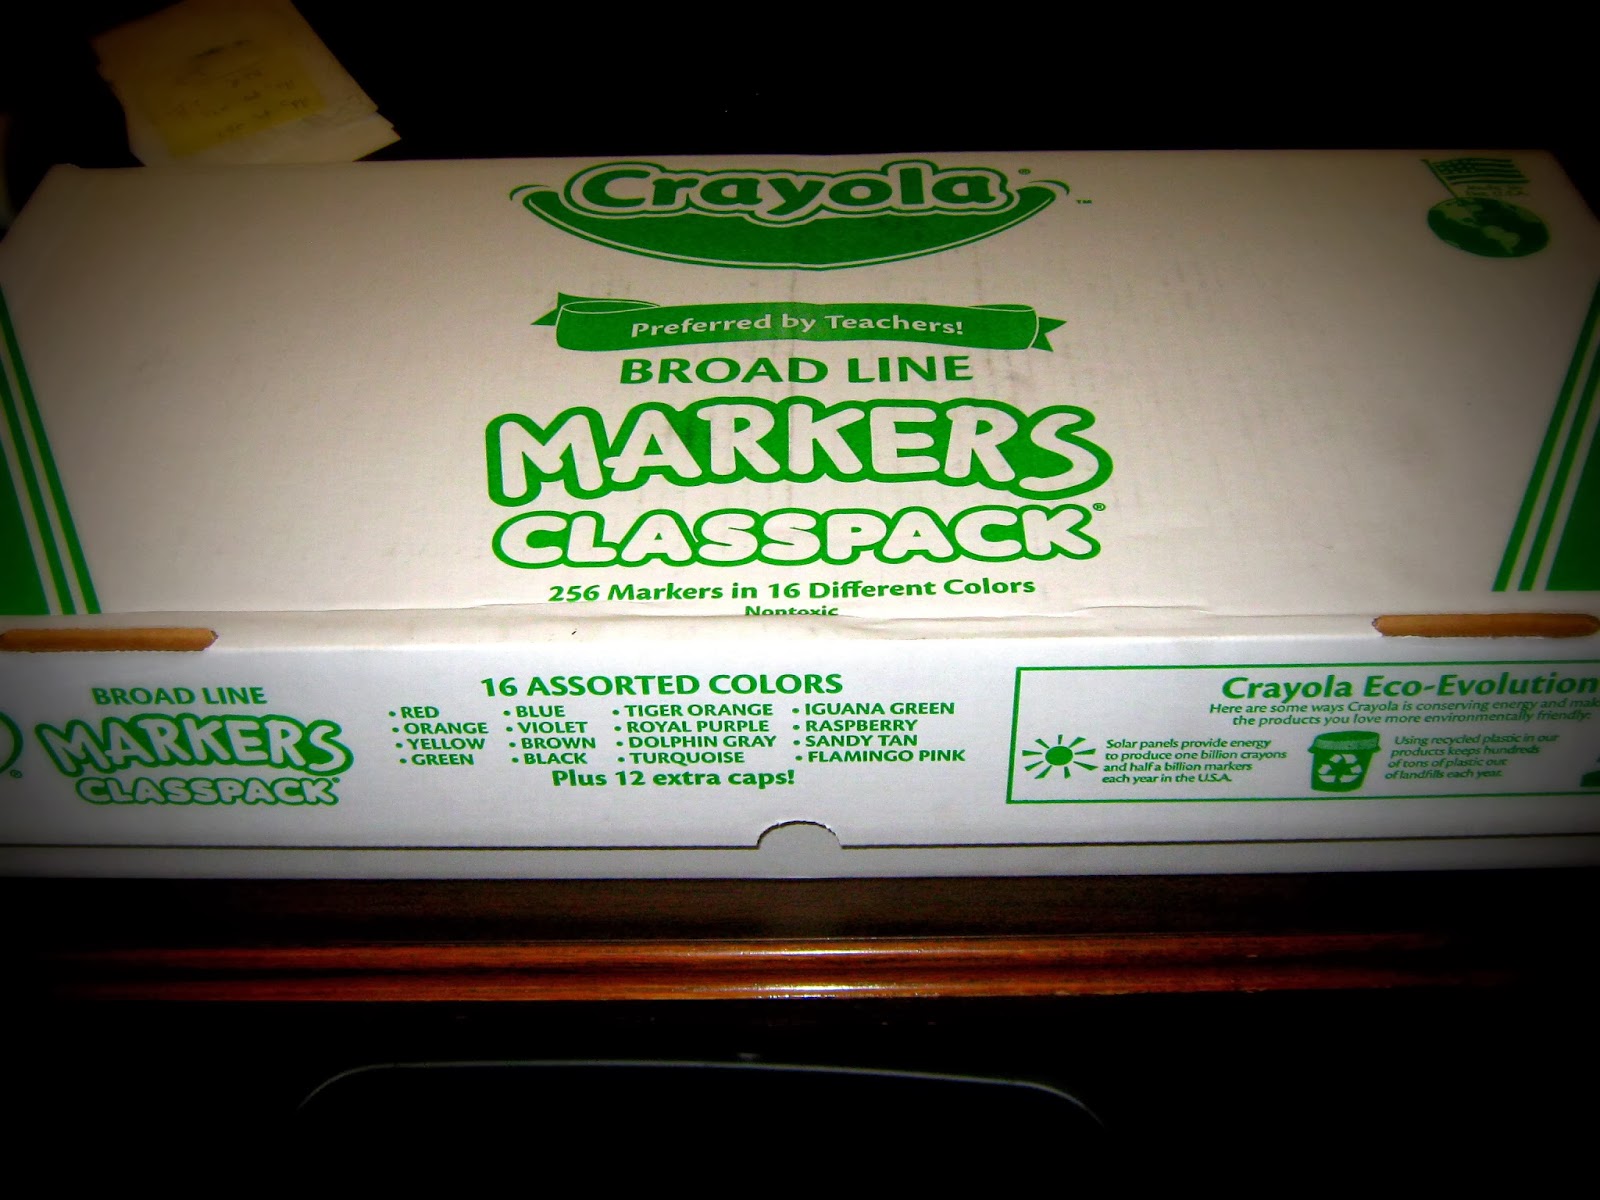
I also use this awesome marker box from my crayola order to keep my carving tools organized.

On the lid I have a reminder of what 4 tips should be in each handle.  Students are responsible for checking their carving tool at the start and end of each class period.  The cubbyholes make easy work of check to see if all the tools are turned in.  

I cut 4x6 scraps of white paper for the students planning.  When they draw their images using a "real" pencil they can then lay them onto the Saftey-Kut, rub it with a ruler and it will transfer.  

When they are carving I always tell them:
but 
We use the safety cutters and they only have one sharp side.  If the students are using the unsharpened side they will "tear" the Safety-Kut and create cottage cheese.  If they use the blade, they will get string cheese.  We love string cheese. 
(one classes's string cheese)
Before the students head back to print, they have to check their images with a graphite stick.  Laying it on it's side and rubbing with show any areas that still need carved.
ready to print?                            Nope.  Fix it first!
The last part of printmaking is one of my favorites.
Peer teaching!
I demo how to print at the end of our first day of carving.  When we come back to class there are always a few students ready to print.  I work one on one with them at the 3 printing stations.  They then become my "master printer" and it is their job to teach the person after them.  This continues throughout class.  Every student becomes the teacher to another student.  It is awesome to listen to them.
Each student must create an edition of 3 with a limit of 4 prints.  They print two 4x6 prints on a 8.5x11 piece of computer paper.  We then trim and number them the following week.  You can check out some of our other printmaking projects here and here, here, here and here.  


Monday, December 16, 2013

What would you do?

So today is the last time I see my kiddos for the quarter.
We are having a work day followed by "THE GREAT FLAKE CHALLENGE" for those who are done.
I have told all my classes...Your work HAS to be turned in by Friday!  No Exceptions!  No credit for 1st semester work will be given during 2nd semester!  
I told them they could take their work home and finish... just make sure I have it by Friday!

3 different times today I had students leave unfinished projects in their folders.
1 student took his to finish... he claimed he didn't understand that he had to have his done Friday also?
1 student turned it in unfinished... he said he would just take whatever grade he got on it.
1 student refused to do anything.  I reminded him that turning in something was better than nothing.  Nope. He wasn't turning any of it in.

I don't get it.

What would you have done?


Wednesday, November 20, 2013

Elements of Art Organizer

This is a direct steal that is toooooo awesome not to share.

Mrs. Impey over at Art Room 104 posted this great post about an elements of art graphic organizer and I knew it was exactly what I was looking for.  

My 6th graders started the year (yeah this is another catch up post) creating these graphic organizers.  I gave them detailed typed out notes and they could create their own definition or copy mine.  I loved how they reviewed the elements of Art and provide my students with an easy reference for the rest of the year. 


and a close up of some notes
I will be putting this in my "use again" file.  Thank you for sharing Mrs. Impey!


Friday, November 15, 2013

My "Real" Room

The blog "Teaching with Grace" challenged us to show off our REAL classroom.  "This Old Art Room" shared the challenge so I am passing on my real room:


Have a great weekend!  
I am taking an art class and can't wait!


Wednesday, October 16, 2013

Tackling the Clay!

I won't lie... I have a love and hate relationship with clay.
It is a magical and it is messy.
It is amazingly fun and absolutely tiring.
It is everywhere but everyone loves it.

So once again it is time to tackle the magical medium.  This year I am super excited to use the slab roller I was able to purchase using artsonia money from last year's snap my art fundraiser!

And since I am all about giving kids a little bit of choice... I showed them how to create a clay
pinwheel 
or 
trivet

I demo'd in class but some of the kiddo's were gone and others may have questions so I made this video demonstration that will play in a loop during class tomorrow.  I won't win any Oscars (and the music will drive you crazy... hit the mute) but it will serve my purpose.

Wednesday, October 2, 2013

Going to give it a try...

I LOVE, LOVE, LOVE my Artsonia account.  It does take a little time but it also pays off big time.

I love getting things for my room with the money earned... like this clay roller with the money we raised doing snap my art last year!

I love seeing parents and grandparents who tell me how much they LOVE ordering things with their kiddo's images on them.

I love how my kiddo's feel like super stars when their stuff is "on the internet."

Well today I am going to allow my students access to upload their stuff to Artsonia on their own... pray this goes well.  I am thinking that it will but I always get so nervous about doing something for the first time.  It will help them understand the importance to their artist statements and allow me an easier way to grade their computer images.

stay tuned for the update!

Friday, September 27, 2013

What I learned from my students... today!

I am always learning things from my students and usually it has a lot to do with "what is cool."  Today in the middle of class a student made my world SO MUCH BETTER!  I am not sure why I never thought of it, but I hadn't...

In the middle of a lecture on forms, as I was saying, "this is a lot harder to do with markers..." One of my kiddo's said, "why don't you use the crayon?"


Use the crayon?
Why that would make a ton of sense!
I was so used to drawing with the smart boards pens that I never thought to change the pen style to crayon.... but it Rocks!
I can actually get some gradual shading into my example drawings.  

I am so grateful that my student shared such a great idea (even if it was a blurt during lecture)!

Some notes from class: