Thursday, March 27, 2014

The most expensive "cheap" project ever!

I started this project with my celebrating creativity kids thinking it would be super affordable...

Material list:

  1. construction paper scraps
  2. Elmers glue
  3. Sandpaper (stolen from hubby)
  4. Stampin Up Crystal Effects (borrowed from my stash of goodies at home)
Well that isn't really how it worked out. They used up the construction paper scraps plus broke into my good stash.  They went through a TON of glue.  I did steal the sandpaper but we ran out.  They Crystal Effects was dried up and I had to buy new.  Good thing the results were pretty cool.

Step #1 is to choose a shape and cut out a lot of the shape (circles/squares/triangles are easiest).
Step #2 is to glue them together.  Cover each piece with Elmer's, making sure to go corner to corner.  You want them to completely bond together.

Step #3  Let them dry for at least a week (imagine that at this point it is a stack of gluey, gooey, construction paper)
Step #4  Sand, Sand, Sand, Sand the paper.  Some of my students weren't very neat about lining up their papers and ended up taking theirs home for a little help from "the power sander thingy" their dad's own. 
*make sure to sand at an angle so you can see all the colors.
Step #5 is to cover the finished pieces with Crystal Effects (or something similar) to make the shine and protect the edges.  

The teacher who introduced this project to me had her students create larger sculptures and used wood rasps on them.  The were BEAUTIFUL!  We choose to just make jewelry with the time that we had. 


Tuesday, March 25, 2014

Look who is in the news!

We are blessed to have an awesome newspaper in our town who is wonderful about covering what we are doing with the arts.  (I have written about the Spotlight on Art Feature before)  However this month it has been pretty crazy the coverage they have given us.

#1 Front page coverage of our Monster Art Show
front and center... how awesome
I will post more about this project but basically it was a collaboration between my 5th graders and the high school painting class.  We then hung the two images together at our local coffee shop to spotlight Youth Art Month. 


#2 Our Dream Rocket Project
dream rocket image and that weeks Spotlight on Art image (not my schools)
The paper added a special image and write up of this project.  
You can find out more about the project at this post.


#3  This week we are scheduled for Spotlight on Art....

Monday, March 24, 2014

Why I love what I do....

Last year I had a student who was a very nervous art student. 
I could tell she loved art.
I could tell she was worried about "messing up."
 She would ask me several (alot) times every class if she was doing the project right.  With every question I would say, "what do you think?"  She would nervously share her idea and I would back her up.  By the end of the year she was getting more confident.  

Fast forward to this year... she still likes to make sure she is following the assignments requirements but she is so much more confident in what she does.  Today she was putting her project on the drying rack and she said, "I am loving this picture.  I am really proud of how it is looking!"  

WOW!  I could feel the pride radiating off her.  I can see her confidence growing with every project.  I have seen art change her so much and I am sad to think that I will only have her in my class for 8 more weeks.
sshhhh... no need to tell the students that is all that is left to the school year.

Thursday, March 20, 2014

Look who was in my room...


Okay, so maybe Dale Chihuly wasn't REALLY in my room but his artwork sure was inspiring what we were up to!

On Tuesday night my Celebrating Creativity kiddo's met to create some cool stuff.  We started by watching a CBS News clip of Erica Hill learning from Chihuly how to blow glass.  Then I broke the news to them that they were NOT going to be doing that.  Instead we were making plastic "glass" pieces.

They colored their clear plastic plates (24 for $3 at our grocery store) with permanent markers.  Then we melted them with my hubby's heat gun.  Check out the video of one here.


While they were waiting to melt their plate or after they were finished, they used coffee filters, watercolor and spray starch to create these macchia inspired projects.


Wednesday, March 12, 2014

K-12 Art Show

In Norfolk we are blessed to have an amazing art center that gives several weeks of time to us every year for our citywide school art show.  It is so amazing that we can show our students work in a professional gallery and that we can leave it up for longer than one weekend.  This year the show opened on March 8th and will run through March 27th.

Another teacher in our district created these video's from our show:

Video #1 = a 4 minute overview (click on picture to view)

Video #2 = a 15 minute look at the entire show...


Monday, March 3, 2014

Printmaking 2014

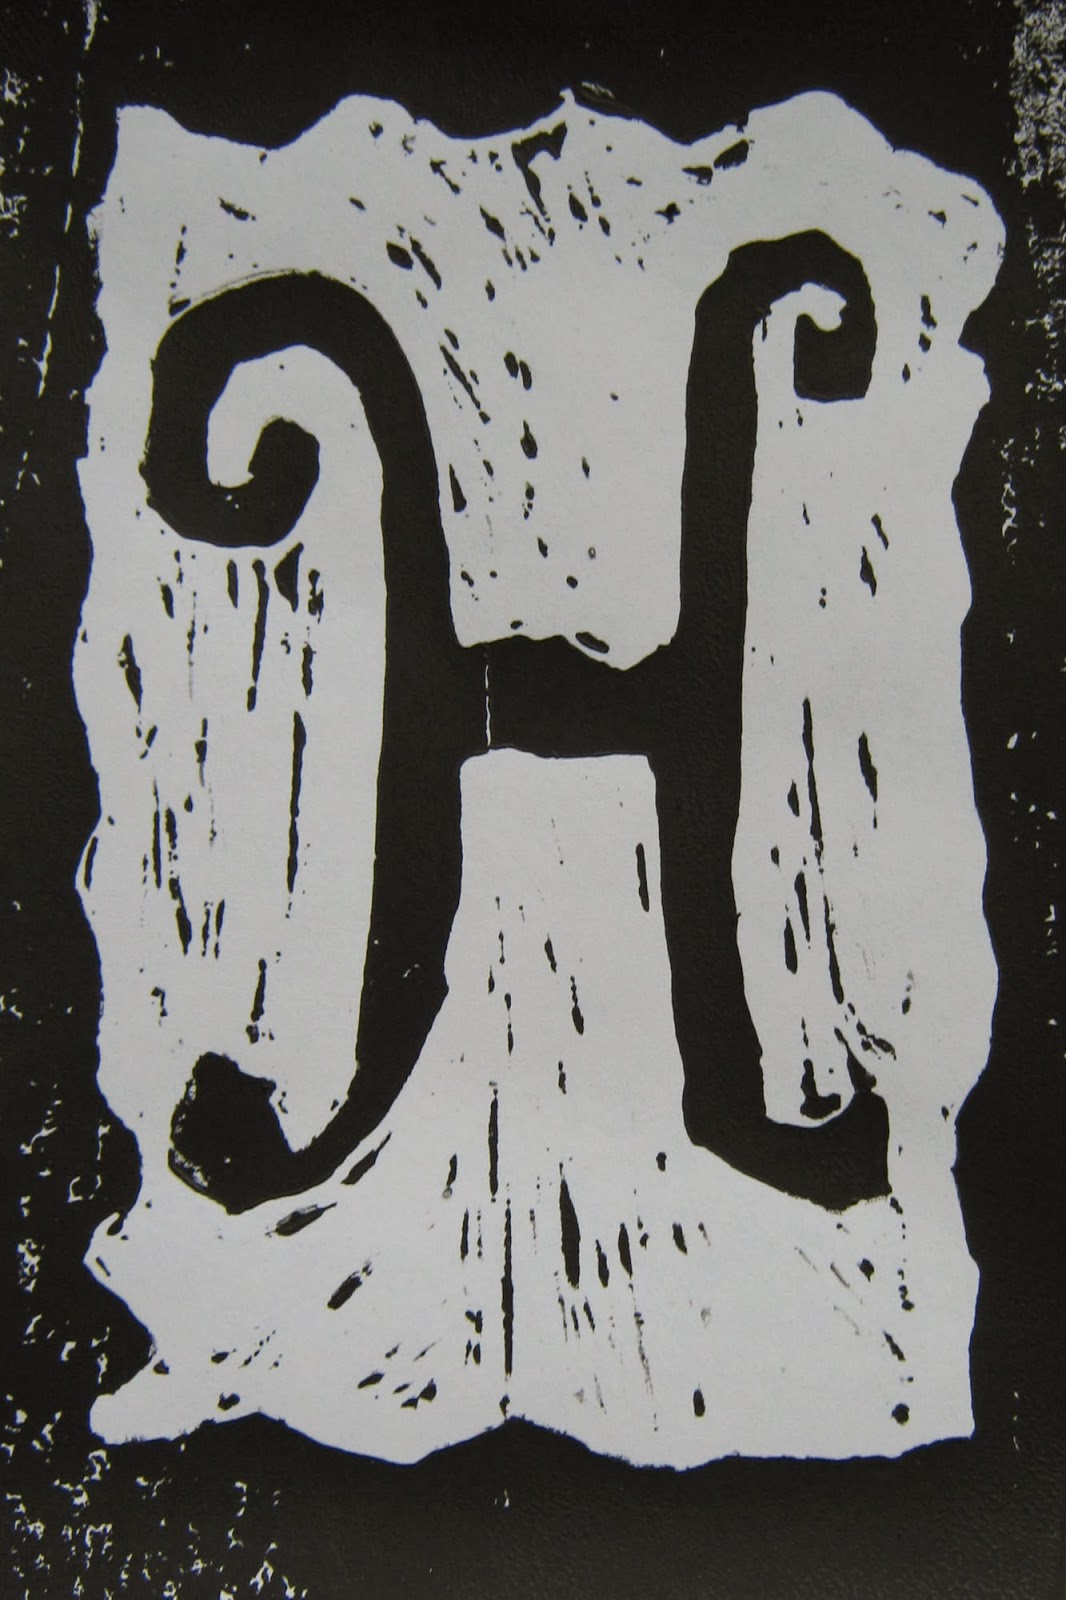
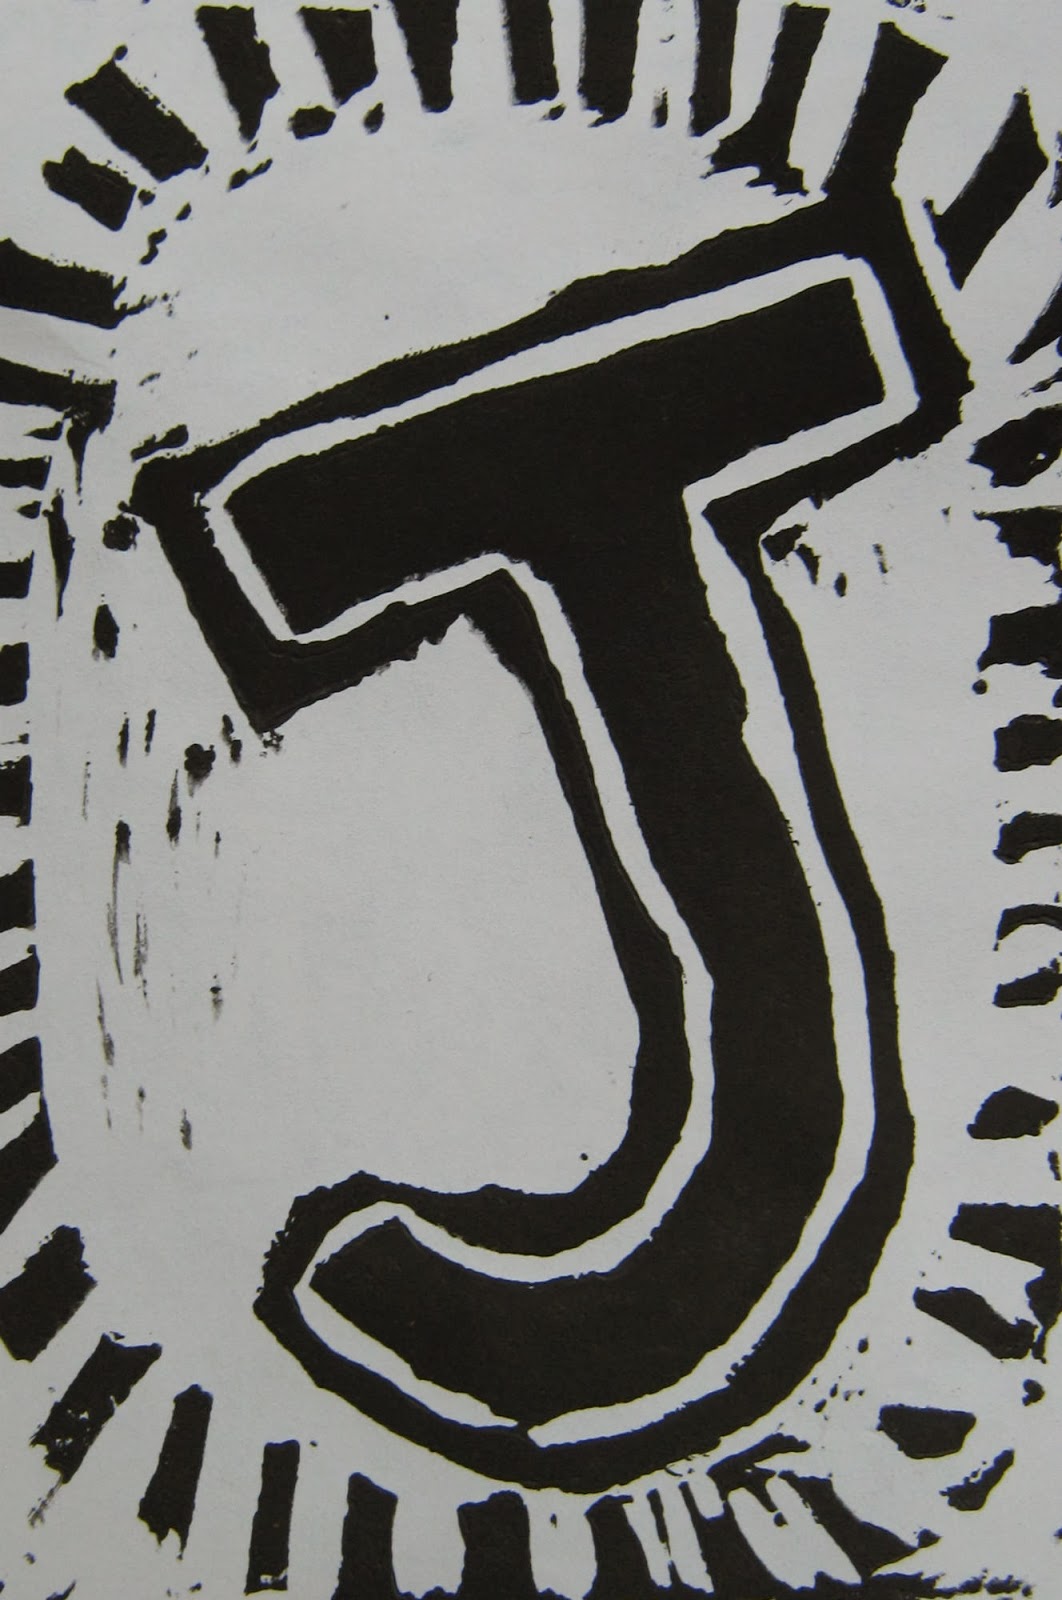
We started our block printmaking project this year by discussing what we did for our clay project (check it out here).  We then planned out how we could use the same subject matter but complete a TOTALLY different project.  We continued on with a lesson on what printmaking is, how to do it, why is different from other mediums (namely having more copies once all the work is done).  Students then designed an illuminated letter pencil drawing.  We transferred, carved and printed an edition of 3.  You can read more about all that here.

Here are a few of their finished images.


You can check more of them out here.

Before we took our blocks home we did a triptych mono-printing project... 
...and it was awesome. 

students painted watercolors onto the smooth back of the block and printed 
When all three of these mono-prints were done, they printed their letters on top
using watercolor or thinned black paint
When the project was done. They had three different mono-prints that were unified as a triptych image by the letter print.
here is a finished image... check out more at Artsonia