Friday, January 31, 2014

Connected...

I love using technology to help my kids see their place in the global world.  On Wednesday we were going to create a warm and cool grid project on the computer.  By pure chance a blog post came through my feedly account that showed students in Belgium doing the same thing!  They were working with paint and we were going to be working on the computer program paint.  It was so much fun showing my students the work from around the globe so they could get to work on their projects...

The students from Belgium's inspiration images:

photo credit
Some of my students work:


Check out more at Artsonia


Thursday, January 30, 2014

3 requirements

I have found my students taking longer to get projects done this year and they are finishing at different rates. I have been trying to work through this with a small part of each project that can be done ahead of the lesson.  For this project students were asked to create an ocean creature that no one has ever seen on a piece of grey paper.  These were supposed to be black and white with a little bit of color.

The next time I saw the students we started to talk about the element of SPACE.  We shared how overlapping, size and placement can help us know what is closer and what is farther away.  They were then given this assignment:  
              - Create an image that is underwater (we created our water images using watercolor techniques of salting, saran wrapping, lifting and layers) with at least one grey fish and shows space by using overlapping, size and placement.  

It was pretty fun to see what they came up with...


Check out more at Artsonia.com
Here is the grade sheet I used.

Monday, January 27, 2014

Paint Samples= Value City

My husband is runs his own painting company so he spends a lot of time at our local Diamond Vogel store.  At the end of last school year Diane (from the paint store) gave him a LARGE BOX of discontinued color paint samples.
I started thinking about what to do... value scales for sure.  sorting by color game?  perfect cartoon squares?  bulletin board borders? 
What I came up for the first round (yes there was that many) are these value scale cities.

As students finished an assignment they choose 5 paint samples and started drawing their city information on them.  I didn't even tell them what we were going to do until the next week.  

The next week we started class talking about value.  In every class but one, a student blurted out "were those papers we drew on last week a value scale?"  Yes! Yes, they were.  The students were also given the challenge of creating a changing value background.  That means their sky area needed to go from light to dark or dark to light.
 They did a great job and I loved the stories they wrote out about what is happening in their city.
Check out the grade sheet here. 

You can check out more images at Artsonia.


Saturday, January 25, 2014

AOE Online Conference

This year we moved to a new house and I knew that would bring some new expenses 
(I wasn't sure I was ready for utility bills that were tripled but I digress). 
I knew that the National Art Convention would not be at the top of my "where to spend my money" list.  

When Jessica at the Art of Ed offered the online conference I knew it was my answer... 
Today is the day.  
The meeting site is having a few glitches but AOE had a back up plan ready to go so I am watching the video's one by one. I am keeping up on the conversations by following Twitter.  
(I am also able to upload to artsonia and blog!)

Thank you Jessica and the rest of the crew at The Art of Education!

Fun Goodies...

Kids are always willing to share fun things they have created.  Here are some of the goodies from lately...
hair clip bracelet

awesome origami book

geometric doodles

Haylee's kindergarten drawing of Mom (thinking I was having a good hair day)

Cartoon ideas

1 Direction
Have a great day!

Friday, January 24, 2014

Humbled

I had the pleasure of meeting Mr. Tim Bogatz the art teacher at Bellevue East High School in Omaha, NE when we both presented at our state conference this fall.  He is a super gifted teacher and his blog (Eastartroom) is a great read (who doesn't love the Top 10 Hotties of Art History).

I was humbled when he asked to interview me for his feature of 14 art teacher/bloggers of 2014.  I am excited to say that today is my day.  You will have to stop over and check it out!

Thank you Tim!

Wednesday, January 22, 2014

Printmaking Info...

This post isn't' so much about what my kiddos are making as much about how to survive printmaking with 300+ 6th graders.
photo credit
I love to introduce my 6th graders to printmaking and I have found Nasco's Safety Kut is the best stuff.  I can cut 31 4x6 pieces from each of these "Monster" sheets with one 2x6 piece left over.  At $36.78 a sheet it comes out to about $1.00 a student BUT you can use both sides so my students get a block printing lesson and a mono print lesson from one block (or I could reduce the project to .50 if they shared).

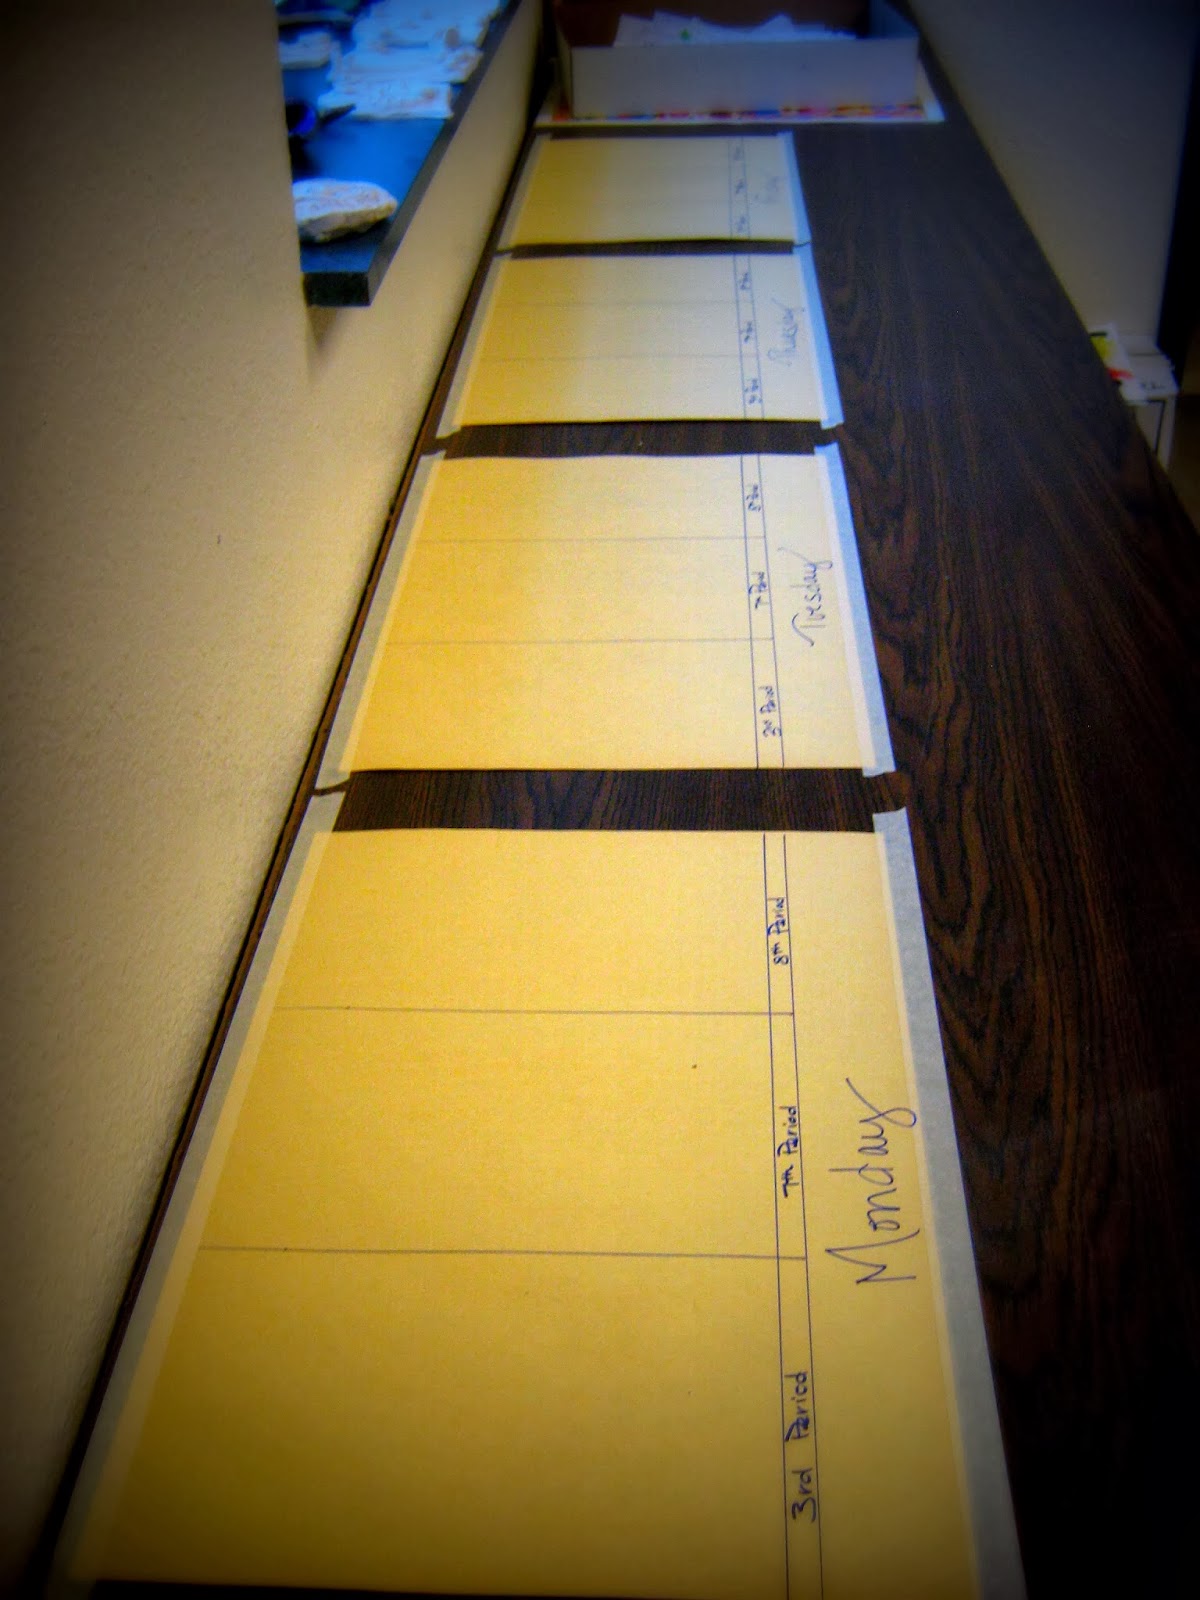
After cutting all the blocks (easy but a little tedious if you do all 300 at the same time).  I organize them on the back counter by class.  I have 4 days worth of students with 3 classes a day.  I create these manila papers to keep all the blocks organized.

I also use this awesome marker box from my crayola order to keep my carving tools organized.

On the lid I have a reminder of what 4 tips should be in each handle.  Students are responsible for checking their carving tool at the start and end of each class period.  The cubbyholes make easy work of check to see if all the tools are turned in.  

I cut 4x6 scraps of white paper for the students planning.  When they draw their images using a "real" pencil they can then lay them onto the Saftey-Kut, rub it with a ruler and it will transfer.  

When they are carving I always tell them:
but 
We use the safety cutters and they only have one sharp side.  If the students are using the unsharpened side they will "tear" the Safety-Kut and create cottage cheese.  If they use the blade, they will get string cheese.  We love string cheese. 
(one classes's string cheese)
Before the students head back to print, they have to check their images with a graphite stick.  Laying it on it's side and rubbing with show any areas that still need carved.
ready to print?                            Nope.  Fix it first!
The last part of printmaking is one of my favorites.
Peer teaching!
I demo how to print at the end of our first day of carving.  When we come back to class there are always a few students ready to print.  I work one on one with them at the 3 printing stations.  They then become my "master printer" and it is their job to teach the person after them.  This continues throughout class.  Every student becomes the teacher to another student.  It is awesome to listen to them.
Each student must create an edition of 3 with a limit of 4 prints.  They print two 4x6 prints on a 8.5x11 piece of computer paper.  We then trim and number them the following week.  You can check out some of our other printmaking projects here and here, here, here and here.  


Friday, January 17, 2014

Doodles

Before break we did a project based on the principles of art.  We started by looking at this sketchbook page from Keith Haring.
photo credit
We discussed how he used the elements of art but also how he used the principles of art.  
We agreed that this image was  a doodle before tackling our own doodles.  

The students then created their own doodle.  It had to tell me a little more about them.  They could use any medium and draw any subject as long as it was a doodle.  To finish the project they had to write an explanation of how they used each of the principles of art in their image using this worksheet.

Here are some of their finished images:


Wednesday, January 15, 2014

Radial Designs...

The 6th graders finished a doodle drawing (more on that later) and as part of the project had to explain their use of the principles of art.  Many of them claimed their image had radial balance because they had a circle somewhere in the image.  So obviously I needed to reinforce the differences.  We created these radial designs in two of my classes. 
They did a great job and definitely understood the what radial balance is...

Here are a few close ups:


can't go wrong with glitter...


Post Update: You have to check out the radial designs over at Art Rocks!  I wrote this post and then saw her's.  Great minds must work alike :)