Showing posts with label lesson plans. Show all posts

Wednesday, March 23, 2016

Ugly Doll's Take Over

Earlier this year I decided to tackle a sewing project with my 5th graders. It was a lot of work but it was a lot of fun! We looked at Ugly Dolls. If you don't know much about these guys they are a awesome little creatures who embrace their unique looks and rock out! You can get dolls, books, video's etc. You can click here to learn more

We started by looking at these guys and then designing our own ugly dolls with unique abilities. Sewing was probably the hardest part of these project and when I do another sewing project we will practice on plastic cards first but that is for another post. Here are a few finished ugly dolls. 
Jojo saves lives and loves trees. He also cleans up trash.

Dribbles can bend and twist into anything. This is helpful when you are missing something.

His name is Bucket Filler he was created by Ava. He sees people with his three eyes, and makes them feel better. His favorite color is bright yellow. His home is a bright yellow and bright colors. He has a job at a children's school so he can make kids feel better at school.

This is T-bat. He likes gliding, and helping people. His friends are Tedy and Ghost. His favorite food is pizza. He once went bungee-jumping with Tedy and Ghost. He loves to do anything with his friends.

He will always check up on you if your doing your homework but he can also be fun.

This was one of those projects that I feared was never going to end but in the end it was totally worth it. One of the best things was the whole project cost me less than $10. I asked for fabric and stuffing donations and my staff supplied enough to do this project 10 times over! Gotta love that. 

Monday, October 6, 2014

inspiARTion app

This summer in one of my classes we had to look at apps we could use on Google.  I downloaded a few and once class was over I didn't think twice about them.  Last week I was exploring ways to teach the color wheel to my 5th graders in a simple way before we venture into paint mixing and I came across an app I downloaded this summer.
The app is called inspirARTion and it has some really fun features (and its FREE).  The two that I have really found to be unique are under symmetry.  You can choose vertical or horizontal lines of symmetry.  As you draw above the line it is transferred to below the line.... like magic.   Check out my name drawing that I quickly created:
InspirARTion (3).png

Also under symmetry is "kaleidoscope" which allows you to choose 4-10 axis.  As you draw in one "piece of the pie" it copies the drawing to all the others.  I am letting the students explore and the kids are love, love, loving it.  Their assignment requirements are to use the colors of the color wheel in color order, get creative, show good craftsmanship and upload it to artsonia with an artist statement.  So far they are rocking it!

Here are a few examples:
Titled Sonic Boom... what he thinks a sonic boom would look like.
I see a science lesson starting here. 


You can check out all of them at ARTSONIA


Friday, May 16, 2014

May 16 - The "Original Selfie"

Earlier this year iPad Art Room had a post "Don't Hate the Selfie" and it was great.  The visual alone inspired this years 6th grade portrait project.  I started the lesson with a presentation that showed some pretty famous "selfies" updated.

Students started by going to the computer lab and finding/researching an "old school selfie."  They had to find an image they liked, research the artist who created it and plan how they would modernize it.  

Then we came back to the art room and they worked on griding out their portraits.  They drew the grid on their paper and we had some standard grids printed out on overhead transparencies for them to lay over their photos.  They spent 2 weeks drawing out their images and deciding how to modernize their image. 

Next they decided what to do about finishing their project.  I gave them the opportunity to choose from oil pastel, tempera, watercolor or colored pencil to finish their images.  They were working so hard and they were turning out great so I decided to mat them.  I cut each portrait to 11x17 and then they selected a colored construction paper to serve as the mat.  They also finished each project with a tag listing the name of the artwork, the original artist and the date of its creation.  They added some information telling what they did to modernize the image. 

Courtney did a great job so here is her's step by step:
Marcanottio Bassetti's "Portrait of an Old Man with Gloves"
Courtney's Old Man with iPod
Information tag for the portrait
Here are few of them with tags:
Alicia's Girl with Beats
Ali's Minecraft Boy Blue
And a few close ups:
Tech Savy Grant Wood?
Beethoven and Patrick?
Pablo Picasso with ear buds?
Henri Matisse aka the Terminator?
iPhone Selfie Loving Frida Kahlo?

Check out more at Artsonia...


Wednesday, May 14, 2014

May 14 - Back in March...

Back in March we did a project that was based on the saying "March comes in like a lion and goes out like lamb."  We discussed how this saying came to be (it is really about astrology) and how true it is in Nebraska. On March 1st we were at 12 degrees and it was snowing.
March 31st it was 63 degrees and the sun was shinning. 
I then handed out some papers that had 4 photos of sheep and 4 photos of lions on them.  Each student was given a plastic piece of overhead material cut to 3x4.  They used transparency markers to trace out their lamb and lion images using shapes where possible.  They then drew these shapes onto their art papers to create their lion or lamb.
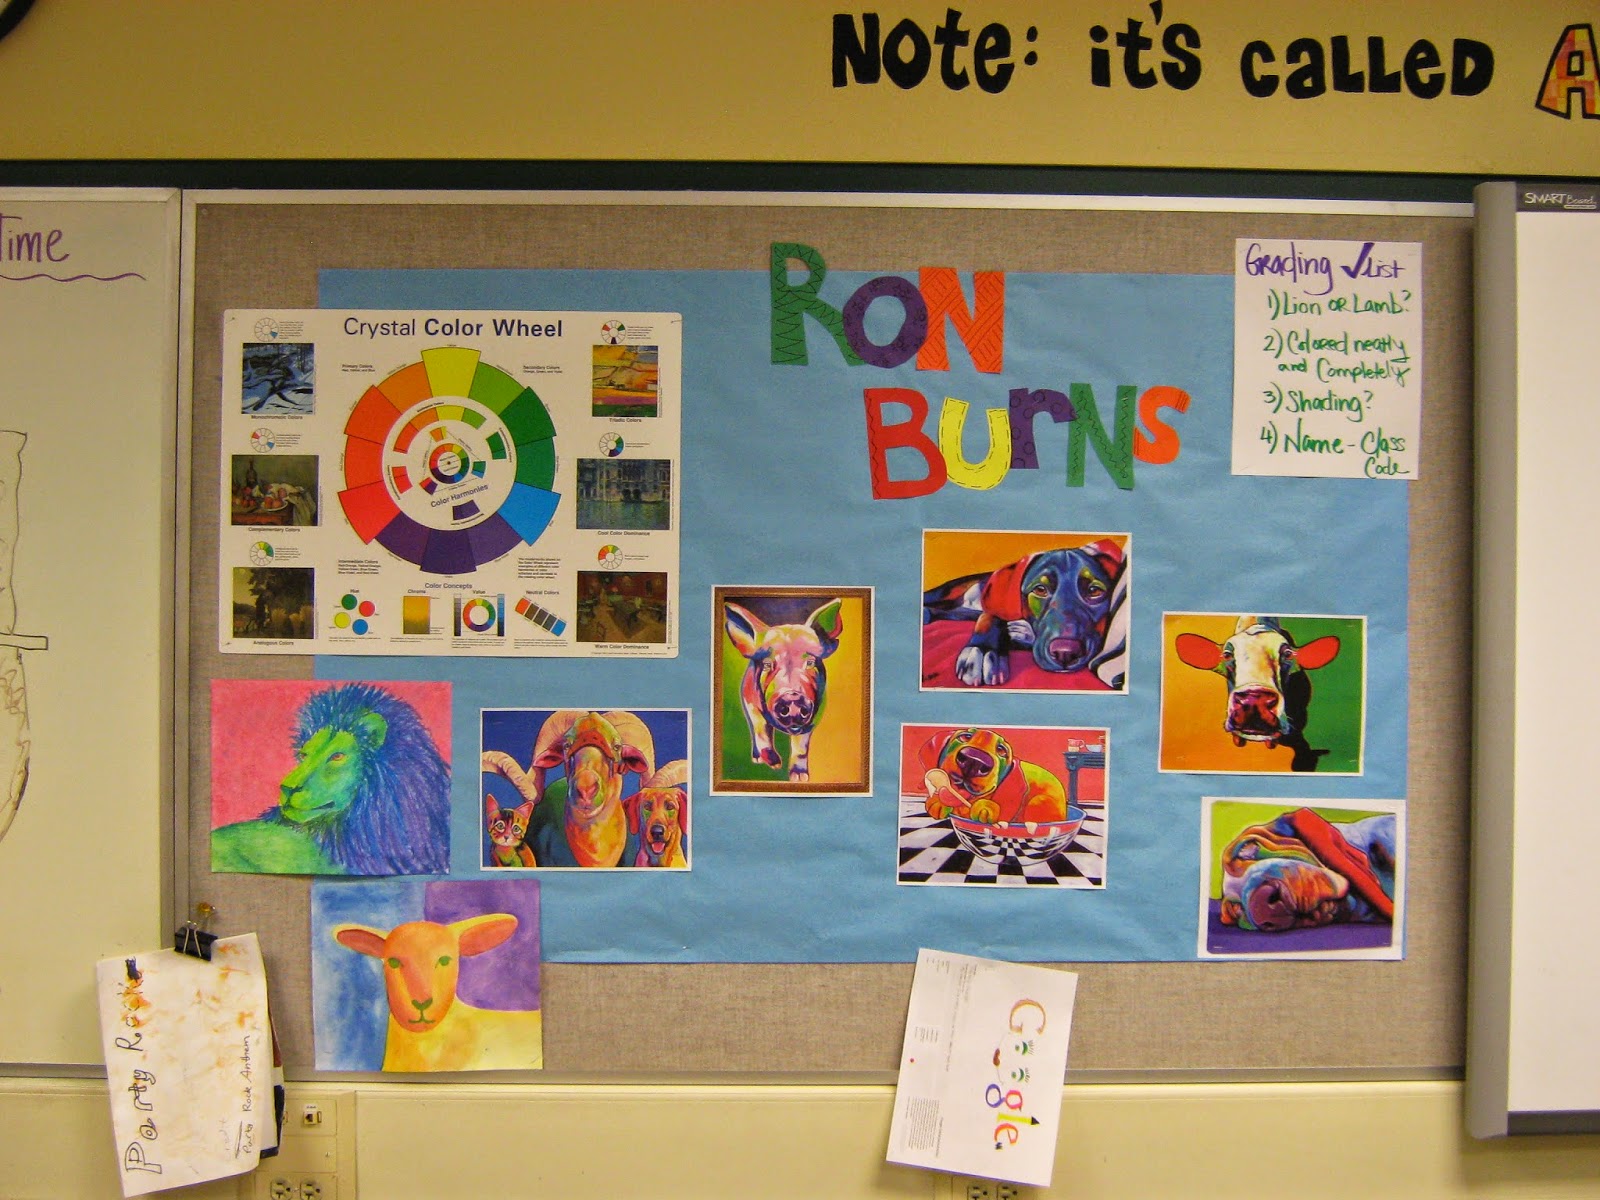
The next class meeting we looked at the art work of Ron Burns.  We discussed the bright and beautiful colors he used to draw realistic looking animals. They then worked to complete their drawings of a lion or a lamb in the style of Ron Burns.
ROAR....

Much Nicer...

This project was part of our material rotation so that means one day worked with watercolor, one with tempera, one with oil pastel and one with chalk pastel.  I just was so happy with how all of them turned out.  If I was doing this again next year I would make sure I have this book from the library to connect it with literature. 


Wednesday, April 9, 2014

Monster Art Show

Earlier this year I posted about the shape monster projects that my 5th graders made using construction paper collage.  Well these projects were just the beginning of something bigger.  After I posted the monsters on Artsonia each member of the high school painting class selected an inspiration image.  The high schoolers then painted amazing images of each monster.
We waited until March for Youth Art Month and then we displayed them together at our local coffee shop, The Downtown Coffee Company.  They we awesome about letting us hang them there for two weeks.  The local paper covered it and we had an awesome opening reception.  The lighting in the coffee shop wasn't great for photos so I had to wait until they were on display here at my school.  
It has been awesome to watch students, teachers, paras and parents slow down and look at the artwork.  I just love to see the artwork of previous students hanging back in this building.  Here is a close of of each pair. 


The idea for this awesome project came from The Monster Engine Website.


Thursday, March 20, 2014

Look who was in my room...


Okay, so maybe Dale Chihuly wasn't REALLY in my room but his artwork sure was inspiring what we were up to!

On Tuesday night my Celebrating Creativity kiddo's met to create some cool stuff.  We started by watching a CBS News clip of Erica Hill learning from Chihuly how to blow glass.  Then I broke the news to them that they were NOT going to be doing that.  Instead we were making plastic "glass" pieces.

They colored their clear plastic plates (24 for $3 at our grocery store) with permanent markers.  Then we melted them with my hubby's heat gun.  Check out the video of one here.


While they were waiting to melt their plate or after they were finished, they used coffee filters, watercolor and spray starch to create these macchia inspired projects.