Showing posts with label printmaking. Show all posts

Monday, March 16, 2015

Radial Printmaking

My students do their printmaking on Nasco's Safety Kut which has two usable sides.  We used the first side for our Joan Miro Microscopic prints.  For the back side I had the students "start at a corner" and make a design.  We then printed their design 4 times to create a radial design. I love them...


Wednesday, February 11, 2015

Reduction Printmaking

This quarter 3 of my 12 sections of art have class on Tuesday and again on Wednesday.  I decided it would be perfect for them to create reduction prints instead of simple block prints.  Like their classmates they used the images of Joan Miro and images from science class to create their prints. The only difference is that they used their images to create a reduction print.

Here is a video I use to help them understand the difference. 

They created some pretty neat images. 


You can check out more at Artsonia. 


Tuesday, February 10, 2015

Block Printmaking....

Printmaking might be one of my favorite things to teach.  It is magic to watch the kids figure it out. 
This year we looked at the artwork of Joan Miro
 at the same time the students were studying microscopic images of bacteria in science.  

We used both of these images to design an image for their printmaking image.  
They turned out pretty nice. 


You can check out more of them at Artsonia. 

So how do we do it...
  1. I introduced the students to the work of Joan Miro and we came to agree that his made up creatures and shapes reminded us of what they were seeing in science class.  They used their prior knowledge and the Miro images to sketch out two ideas.
  2. They drew their favorite image onto a 4"x4" square of paper.  They colored the "black" areas black and left the white areas.  We used bone folders to transfer these images to the safety-kut blocks.
  3. Students carved away the white areas, leaving the dark areas alone.  
  4. When they finished carving, they printed 4 copies of their image onto two papers.  
  5. After letting the images dry, the students trimmed, signed and numbered their images.   
have to love my red "hiding the printmaking ink" nails...
it takes me back to the color theme of my jr. high bedroom redo. 
This year I had them practice carve on small extra blocks so that we could use the back side for another project.  Stay tuned for those results! 


Monday, March 3, 2014

Printmaking 2014

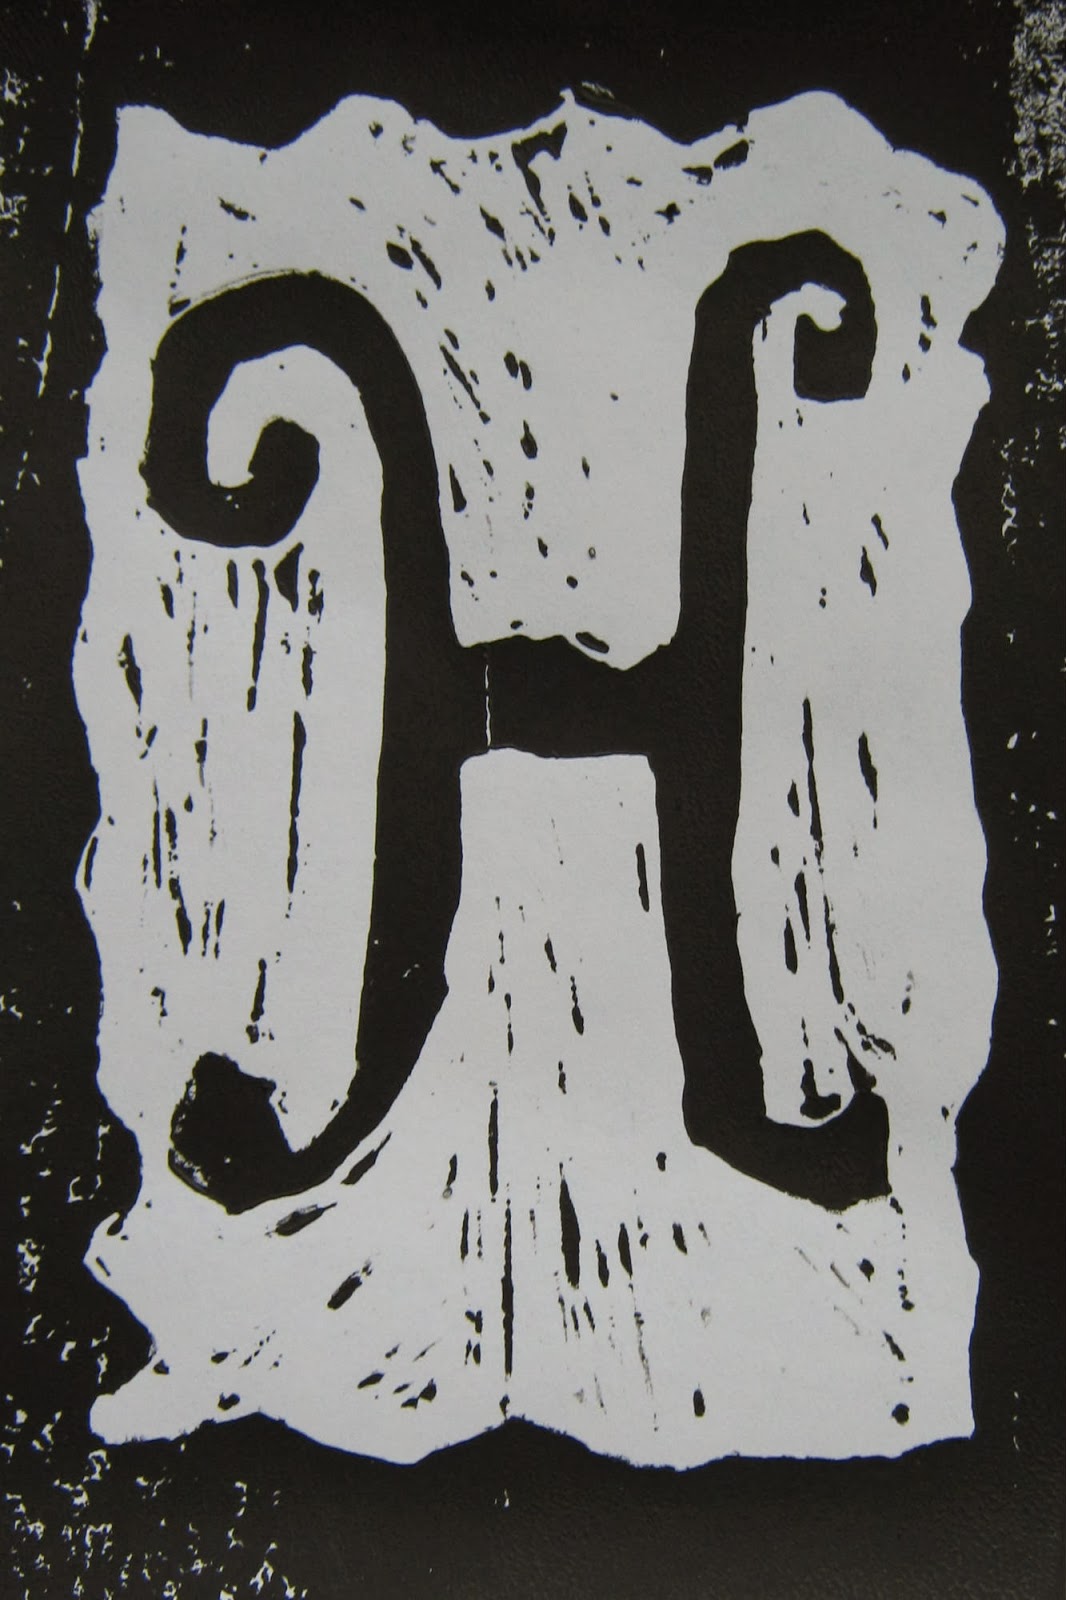
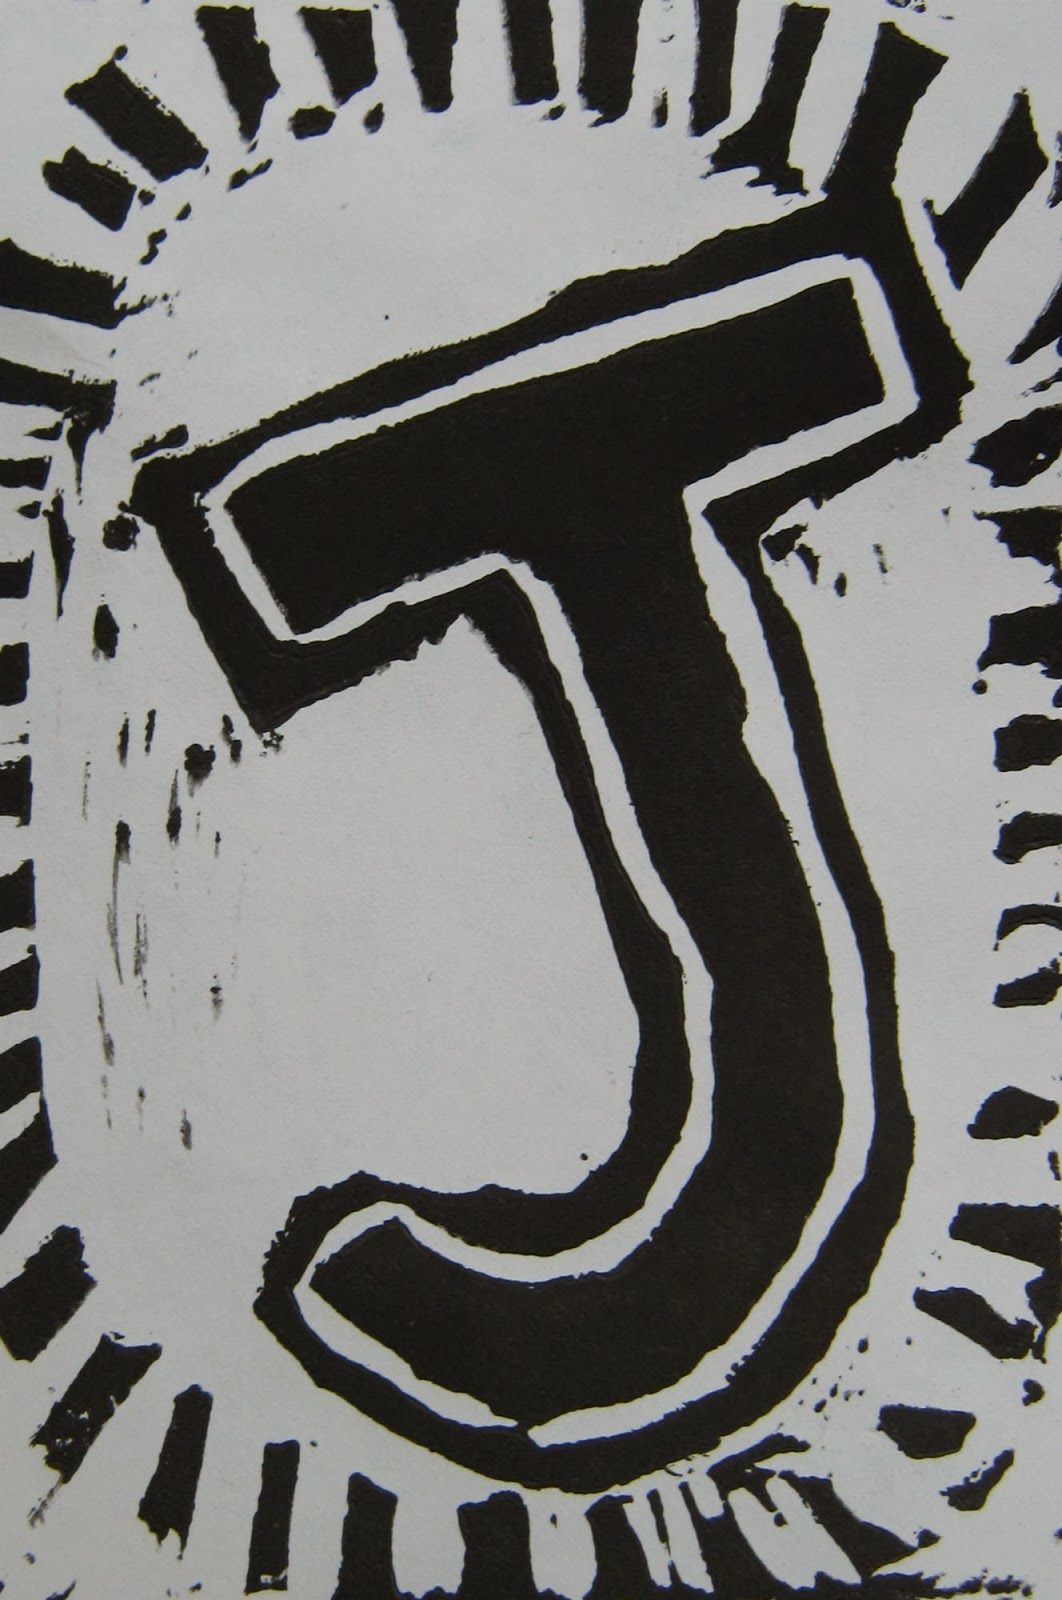
We started our block printmaking project this year by discussing what we did for our clay project (check it out here).  We then planned out how we could use the same subject matter but complete a TOTALLY different project.  We continued on with a lesson on what printmaking is, how to do it, why is different from other mediums (namely having more copies once all the work is done).  Students then designed an illuminated letter pencil drawing.  We transferred, carved and printed an edition of 3.  You can read more about all that here.

Here are a few of their finished images.


You can check more of them out here.

Before we took our blocks home we did a triptych mono-printing project... 
...and it was awesome. 

students painted watercolors onto the smooth back of the block and printed 
When all three of these mono-prints were done, they printed their letters on top
using watercolor or thinned black paint
When the project was done. They had three different mono-prints that were unified as a triptych image by the letter print.
here is a finished image... check out more at Artsonia


Wednesday, January 22, 2014

Printmaking Info...

This post isn't' so much about what my kiddos are making as much about how to survive printmaking with 300+ 6th graders.
photo credit
I love to introduce my 6th graders to printmaking and I have found Nasco's Safety Kut is the best stuff.  I can cut 31 4x6 pieces from each of these "Monster" sheets with one 2x6 piece left over.  At $36.78 a sheet it comes out to about $1.00 a student BUT you can use both sides so my students get a block printing lesson and a mono print lesson from one block (or I could reduce the project to .50 if they shared).

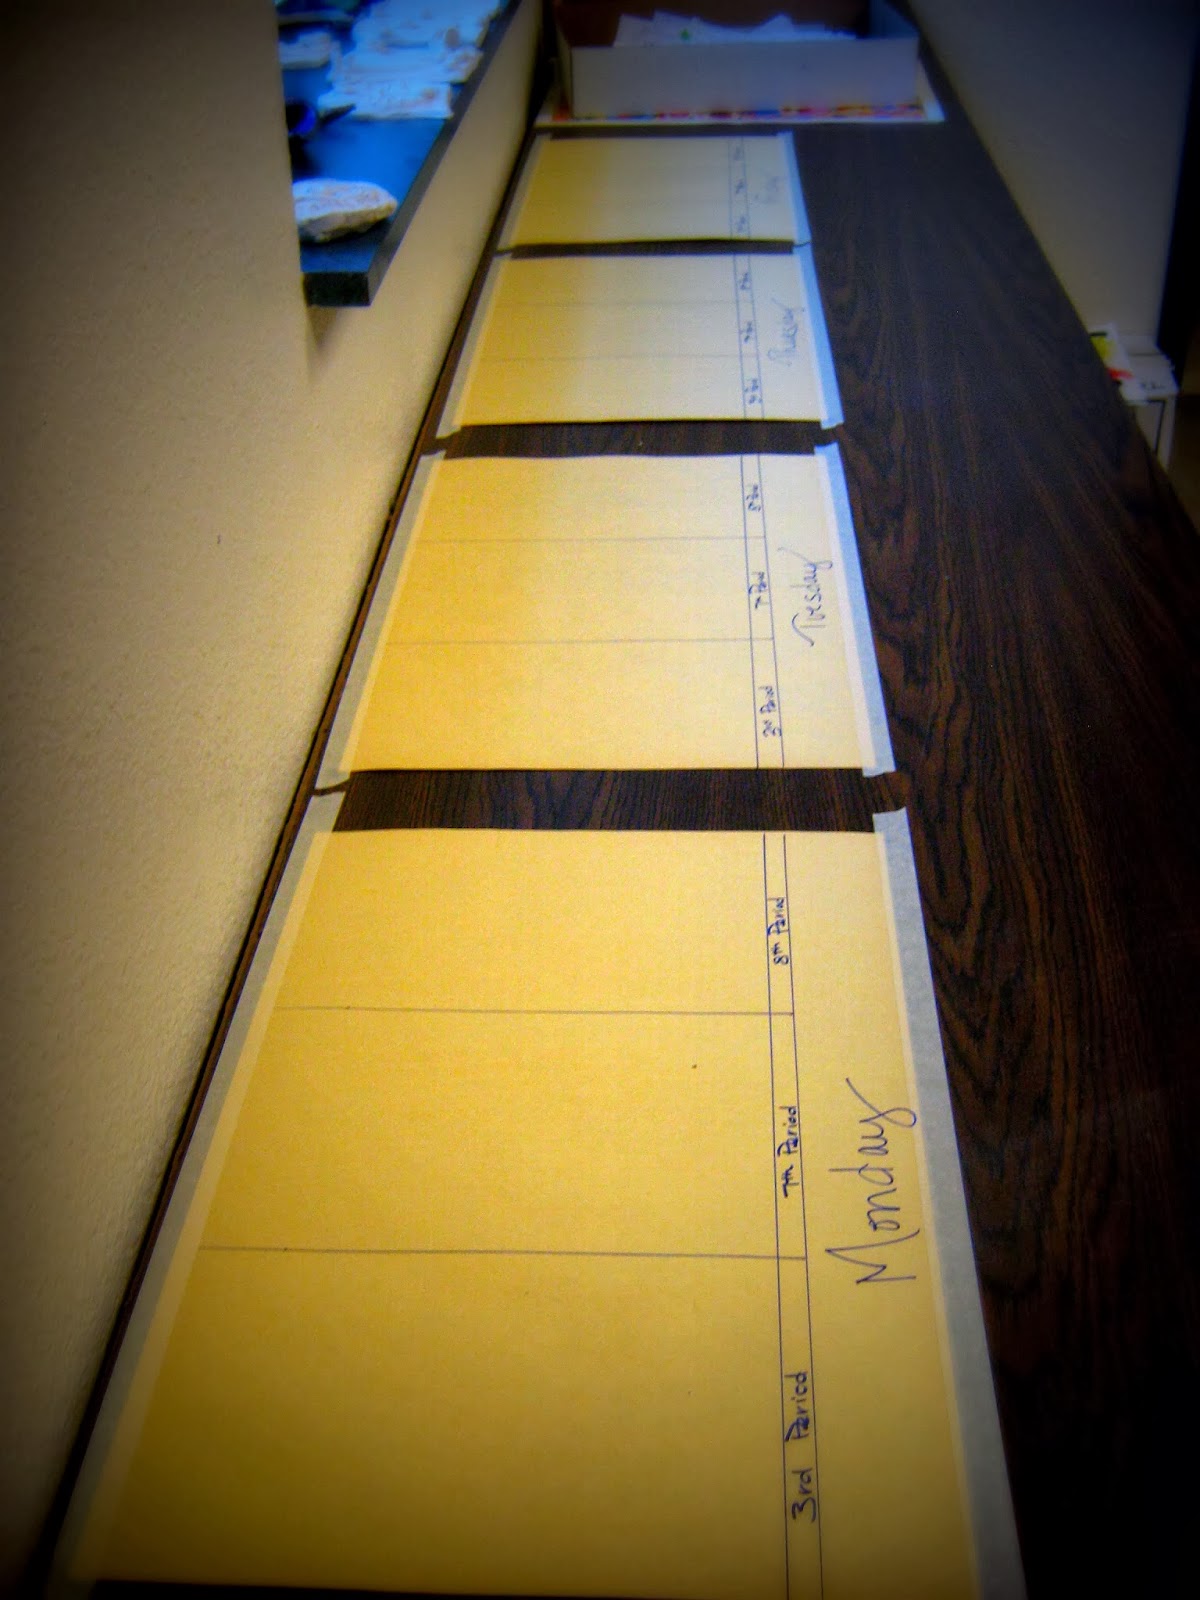
After cutting all the blocks (easy but a little tedious if you do all 300 at the same time).  I organize them on the back counter by class.  I have 4 days worth of students with 3 classes a day.  I create these manila papers to keep all the blocks organized.

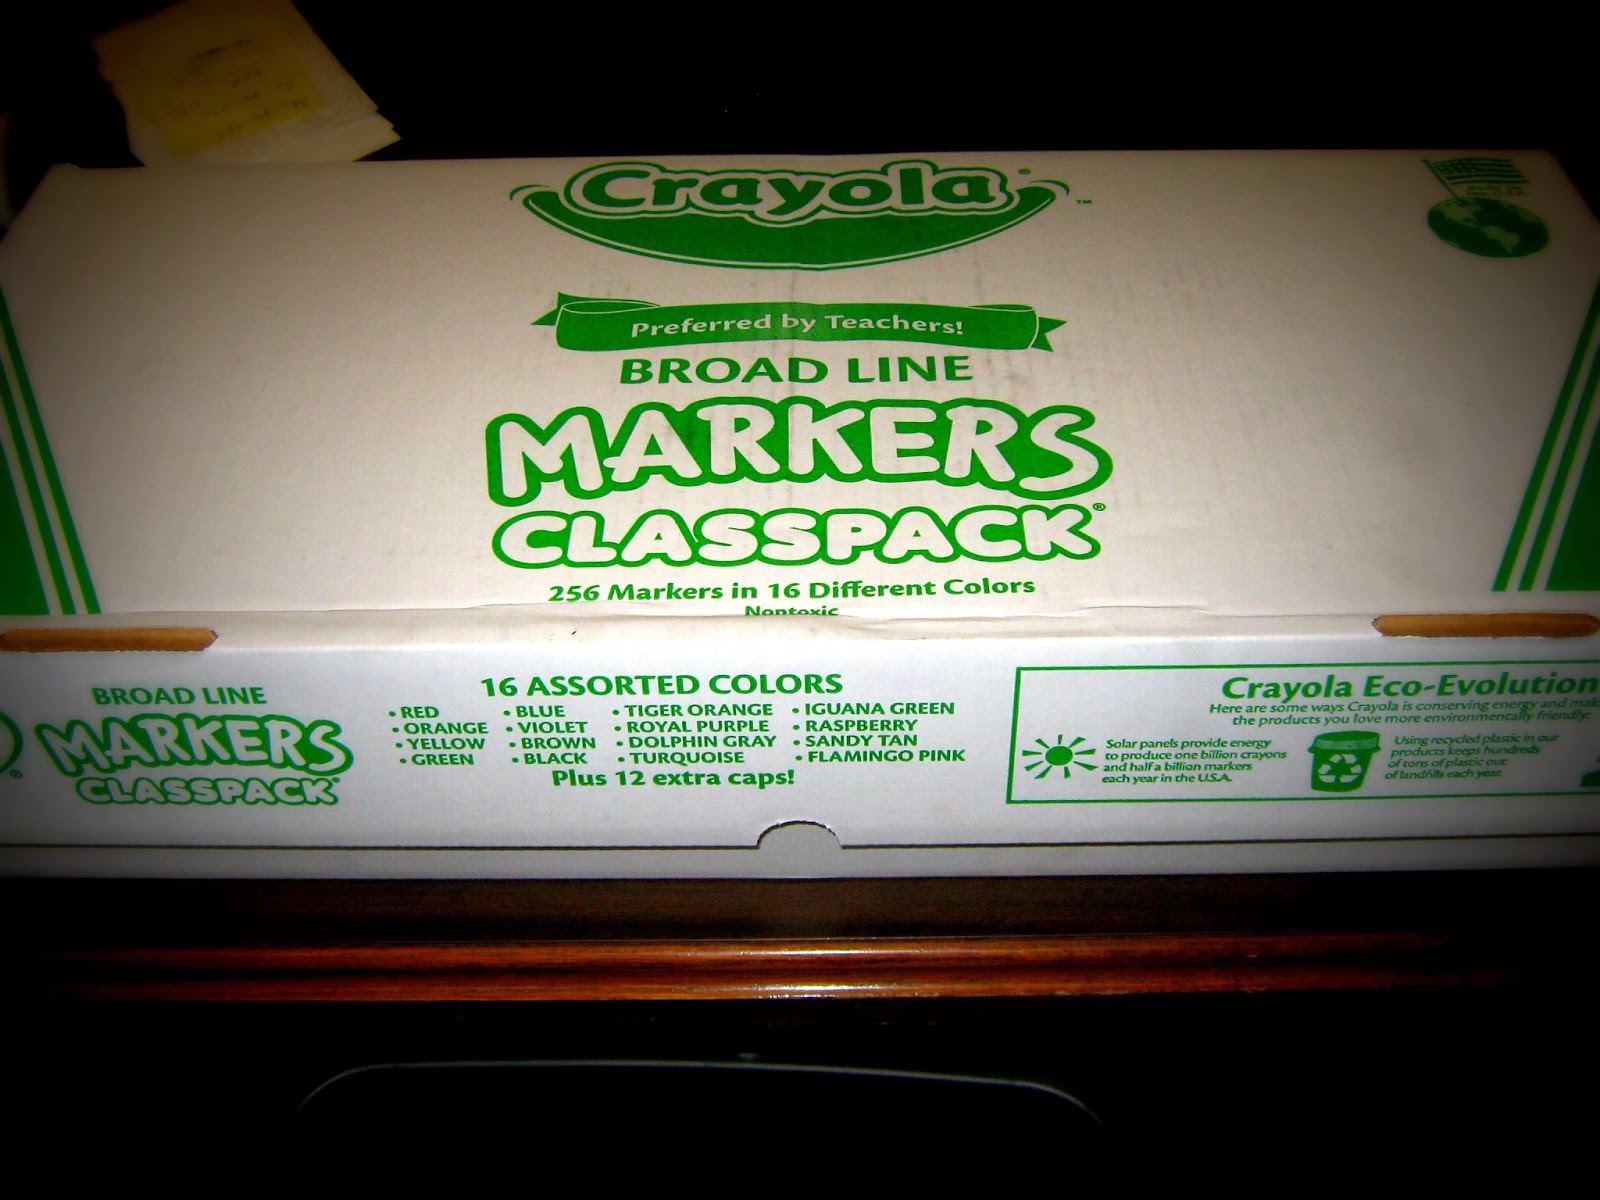
I also use this awesome marker box from my crayola order to keep my carving tools organized.

On the lid I have a reminder of what 4 tips should be in each handle.  Students are responsible for checking their carving tool at the start and end of each class period.  The cubbyholes make easy work of check to see if all the tools are turned in.  

I cut 4x6 scraps of white paper for the students planning.  When they draw their images using a "real" pencil they can then lay them onto the Saftey-Kut, rub it with a ruler and it will transfer.  

When they are carving I always tell them:
but 
We use the safety cutters and they only have one sharp side.  If the students are using the unsharpened side they will "tear" the Safety-Kut and create cottage cheese.  If they use the blade, they will get string cheese.  We love string cheese. 
(one classes's string cheese)
Before the students head back to print, they have to check their images with a graphite stick.  Laying it on it's side and rubbing with show any areas that still need carved.
ready to print?                            Nope.  Fix it first!
The last part of printmaking is one of my favorites.
Peer teaching!
I demo how to print at the end of our first day of carving.  When we come back to class there are always a few students ready to print.  I work one on one with them at the 3 printing stations.  They then become my "master printer" and it is their job to teach the person after them.  This continues throughout class.  Every student becomes the teacher to another student.  It is awesome to listen to them.
Each student must create an edition of 3 with a limit of 4 prints.  They print two 4x6 prints on a 8.5x11 piece of computer paper.  We then trim and number them the following week.  You can check out some of our other printmaking projects here and here, here, here and here.  


Friday, May 17, 2013

Block Printing

I posted about doing reduction printing this year.  I tackled that project with my 75 "Monday" kids because I would see them on Mondays and Wednesday during printmaking   The rest of the kiddo's did a standard block printing assignment.   They were assigned a landscape, seascape or cityscape based on their day of the week.  We talked about the different ways to carve our image (see this old post) and the got to work.

It ended up that I was gone for a funeral on a printing day for just about every single class (three funeral this year is ENOUGH) but we got them done.  Here are a few of them!


You can check the rest of them out on Artsonia.

Tuesday, May 7, 2013

Quick Printmaking Project...

I LOVE using the Nasco Safety-Kut with my kiddos.  I can get 30 4 x 6 blocks out of each sheet so it costs me about $350.00 for every student to get to do printmaking (you could use the front and back of each block so they could do two prints each or share).  When I do my cutting, I end up with a 6"x 2" scrap from each block.  Over the last 2 years I have accumulated quite a stockpile of scraps so this year I decided to give my "bonus Wednesday class" an assignment that would use them up.

We talked about radial design and how they are created.  They were given a 2"x 2" paper to work out their design.  When they had their drawings ready to go, they were each given a 2"x 2" block to transfer to.  (Another thing I love about Safety-Kut is that pencil drawings are EASILY transferred by laying the paper upside down onto the block and rubbing the back with a ruler.)
pencil transfer~carved~post printing.
After students transferred and carved their image, they printed.  For this assignment I just put out trays of acrylic paint and allowed them to brush the color onto their block.  It took concentration to make sure they were turning the blocks the right direction when printing.  But I think they turned out pretty awesome!  


more in the "BIG" picture at the top


Tuesday, April 23, 2013

Printing...

Could you guess from the last post that 6th grade was getting ready to do printmaking!

I see one group of my kiddo's twice a week so this year we decided to tackle reduction printing with them.  I was pretty nervous about what they could do but I should have known they would rock it.

We started by watching this great video on YouTube.  Then I demonstrated for them...
showing them all three steps.

Then we set up the printing stations (notice the color coded sign up sheets... the color is a huge help for kids who aren't really paying attention).  I had yellow only on the first day.  Yellow and red on the second, with the requirement that all yellow be printed.
 Then we had red and blue on the next day, with the requirement that all red be printed.  (This year I had the kids print two prints on each full sheet of paper instead of having all the paper cut... wow, what a great idea and sanity saver)
The students did a pretty good job with registration and printing in the right places.  
(except for this kiddo who never did get the same print... but I still love it)

Here are some the finished ones... so awesome!  I can't wait for everyone else to finish these.

p.s. While I love these, I don't want to tackle it with all 300 students... these 75 were enough!