Showing posts with label mixed media. Show all posts

Friday, November 14, 2014

Exploring Art Mediums

One of the first projects my 6th graders did this year was inspired by the one and only Nic Hahn over at MINI MATISSE (if you haven't checked her out - go there NOW!).  Anyway... Nic spent the summer making these awesome "Medium Monsters" to help her mini's know more about art mediums.
I shared a few of Mrs. Hahn's monster and then challenged my students to create something equally awesome using art mediums.  They were given a lot of freedom (in retrospect too much freedom for a first project). 
Their project requirements were to create an image using a minimum of 4 mediums - NEATLY!
We started by creating stations around the room and the students filled in their medium books.  
Then they filled out a proposal for their idea and got to work.  While many of them had each medium represented, they didn't use them in all their awesomeness!


Feel free to stop over at Arstonia and check out more of what they have done. 


Wednesday, May 15, 2013

CD Case Design

When Rina over at K-6 Art posted this neat post about drawing portraits on CD cases I knew I found the conclusion to our 5th grade portrait unit.  It gave me a lot of freedom based on how many days each group had (track meets, music contest, random Friday off... all those things that impact the end of the year).

Day 1 and 2
We drew our faces on front using sharpies and then opened the CD case to paint our faces... we made them bright, bold and beautiful.  (painting on the inside prevents the paint from scratching off).  Then we used one 4 3/4" x 5" paper for writing words that describe us.  These words went behind our portraits.  The CD cases are then completely usable (would be an awesome way to send home a digital portfolio).


this kiddo painted his whole cover so his solution was to put his lettering in "backwards"
Day 3
These kiddo's never miss so their job was to make their CD Case into a "book."  These kiddo's used the thicker CD cases.  They did the same painting but we finished them with a 20" x 4 3/4" paper accordion folded into the back.  They then completed them by writing a story, creating a cartoon, designing the pages, creating collages, etc...
Day 4
These kiddo's were stuck missing out... but those that finished early could do one "just for fun."  These were some of my fav's.  They really got into this project! 

You may not be able to tell but on the first two they painted everything BUT the face on the front of the case.  They then painted the background.  This created an awesome sense of depth to their images.  The first one is in the window "glowing," the other is inside. 

painting right to the edge
 These are the same picture... the first one has a light shinning through it, the second is plain.  Pretty neat... (would make an awesome window display)

You can check out all the images on Artsonia.

Wednesday, February 20, 2013

Celebrating Creativity - Ellen Gallagher

photo courtesy
photo courtesy

When I was in New York last year I saw my first Ellen Gallagher images and was blown away.  Needless to say when I saw they were part of the Joslyn's traveling show I KNEW that we would be doing a project inspired by her after school during Celebrating Creativity Art.  

We started the night by watching the PBS Video Art21 about her.  
(linked here)   
The students then got to work.  I was a lot of fun listening to them as they worked.  They were really trying to add things to their images and take things from their images; like Ellen does.  They were very selective in what images they used so they could "say something" with their images.  It was a lot of fun and I am impressed with how they turned out.

Thursday, January 17, 2013

WILD Wildlife...

We have all seen (and if you haven't...go!) Natalie from SmART Class' Zebras and Neon Animals... they are beautiful!  I was so inspired by them but didn't want to do a direct copy of the project.
In talking about this with another art teacher from my district, she asked if I had seen Andy Warhol's Endangered Animals Prints.  I looked them up and came up with my solution...
WILD Wildlife

We started by looking at Andy Warhol's Prints...
Then we drew out our animals (I printed pictures from National Geographic for reference).  We started by gesturing out the shapes.  Next we added in the details.  When that was done, we sharpied over the main details and added the other details (fur, feather, scales) with oil pastels.  We agreed the colors didn't have to be realistic.
When all the drawing was done and the details were in place, we started water coloring over them.  
When they were done they put them on the drying rack and used an iPad to look up the National Geographic website.  They had to create an "info" tag for their animal. 
I only have one day done but I already LOVE them...


Monday, December 3, 2012

reason #124 that I love art blogs...

A while back (during our pumpkin project) I had a sub who majorly flubbed the assignment.  She didn't read the instructions carefully and just searched YouTube for a video instead of showing the kids the video I had made.  Needless to say, that project was one they "took home to finish" real quick and I had them restart our gesture drawing - medium practice project.  However, that left the class with less work time than anyone else so...

 ART BLOGS TO THE RESCUE

In my Google reader I star, group and keep track of art posts that inspire me. It is much like my old file folder/bookcase/file cabinet system but much easier to search.  I knew I had seen a cool post about using candy corn but couldn't remember where.  Thanks to Google Reader, I just typed in "candy corn" and a whole list came up.  Of course Shine Brite Zamorano's Post was right at the top.  A quick click and I had my inspiration ready to go.

Here are some of the finished images...
check out the rest at artsonia.com

So once again, thank you to all the bloggers out there sharing their ideas...

Wednesday, November 7, 2012

Pumpkins Everywhere...

this is supposed to be at the bottom of this post but since blogger wants it here... so here it is!
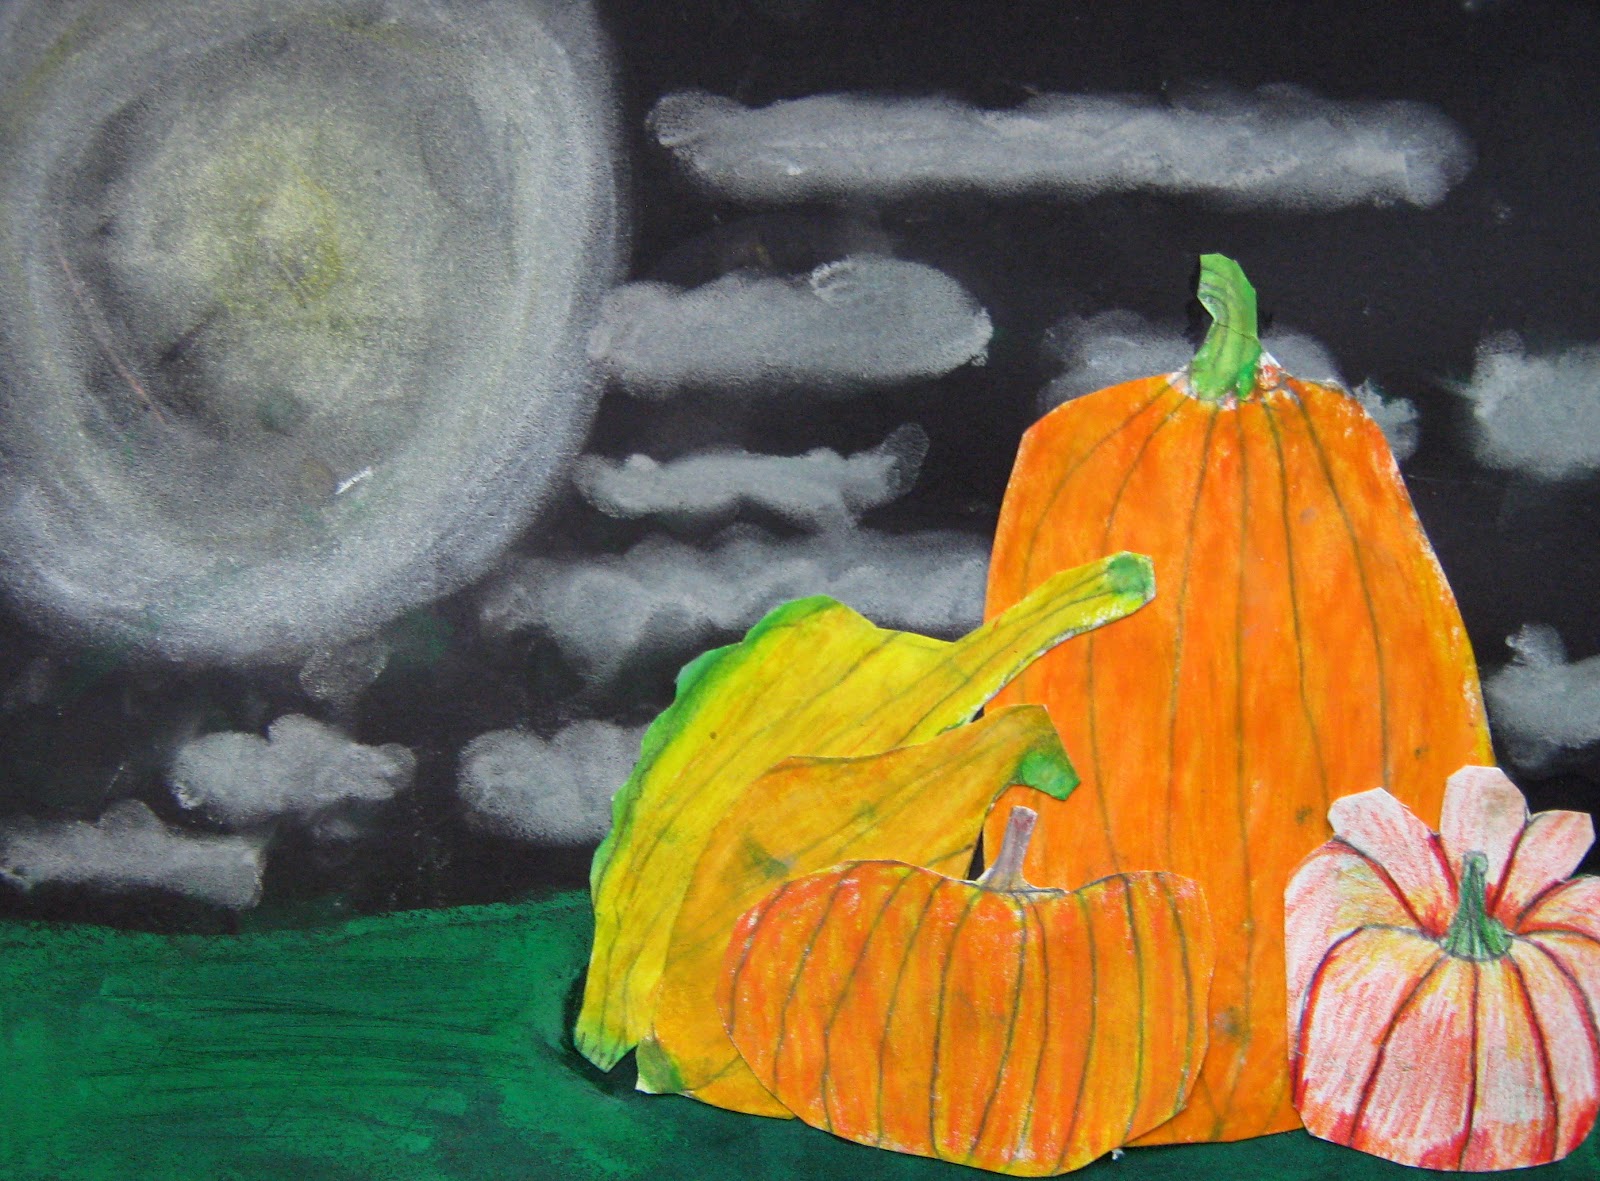
We have been working on this one for a while and I am happy to say it is finally DONE!  (well I still have grading and artsonia to do but the project is done).  We started by learning about contour line drawing.  We talked about the right and left side of the brain and how contour line drawing helps us use the right side!
We started by looking at pumpkins and gourds that I brought into the room.  They could pick them up and draw them one at a time.  
We then did contour line drawings of our pumpkins and gourds.  They did such a great job!
We spent some time talking about different mediums we could use, the colors of pumpkins, shading and color mixing.  The students then used colored pencils, oil pastels and chalk pastels to color a minimum of 3 of their pumpkins/gourds.
Then we made a background for our pumpkins.  Three classes did nighttime and three did daytime. 

Then we cut out our pumpkins and glued them down.  
We talked about space, size and compositions before gluing them down... but we still had a few floating pumpkins.
 
 Of course we had to miss one day's worth of classes because of something... so those classes made torn paper backgrounds for their pumpkins.  

and we had one day with a sub... and she totally messed them up.  She showed them the wrong video 
(so it goes when they don't read your sub plans or only a part of them... but I digress).
Therefore, they drew their pumpkins right onto black paper and colored them.  

And of course their are always a few that just make you smile...
I love these lines...
she only wanted to use white... but I kinda like them.
She did use colored pencil, oil pastel and chalk pastel to do the white....