 |
| photo credit |
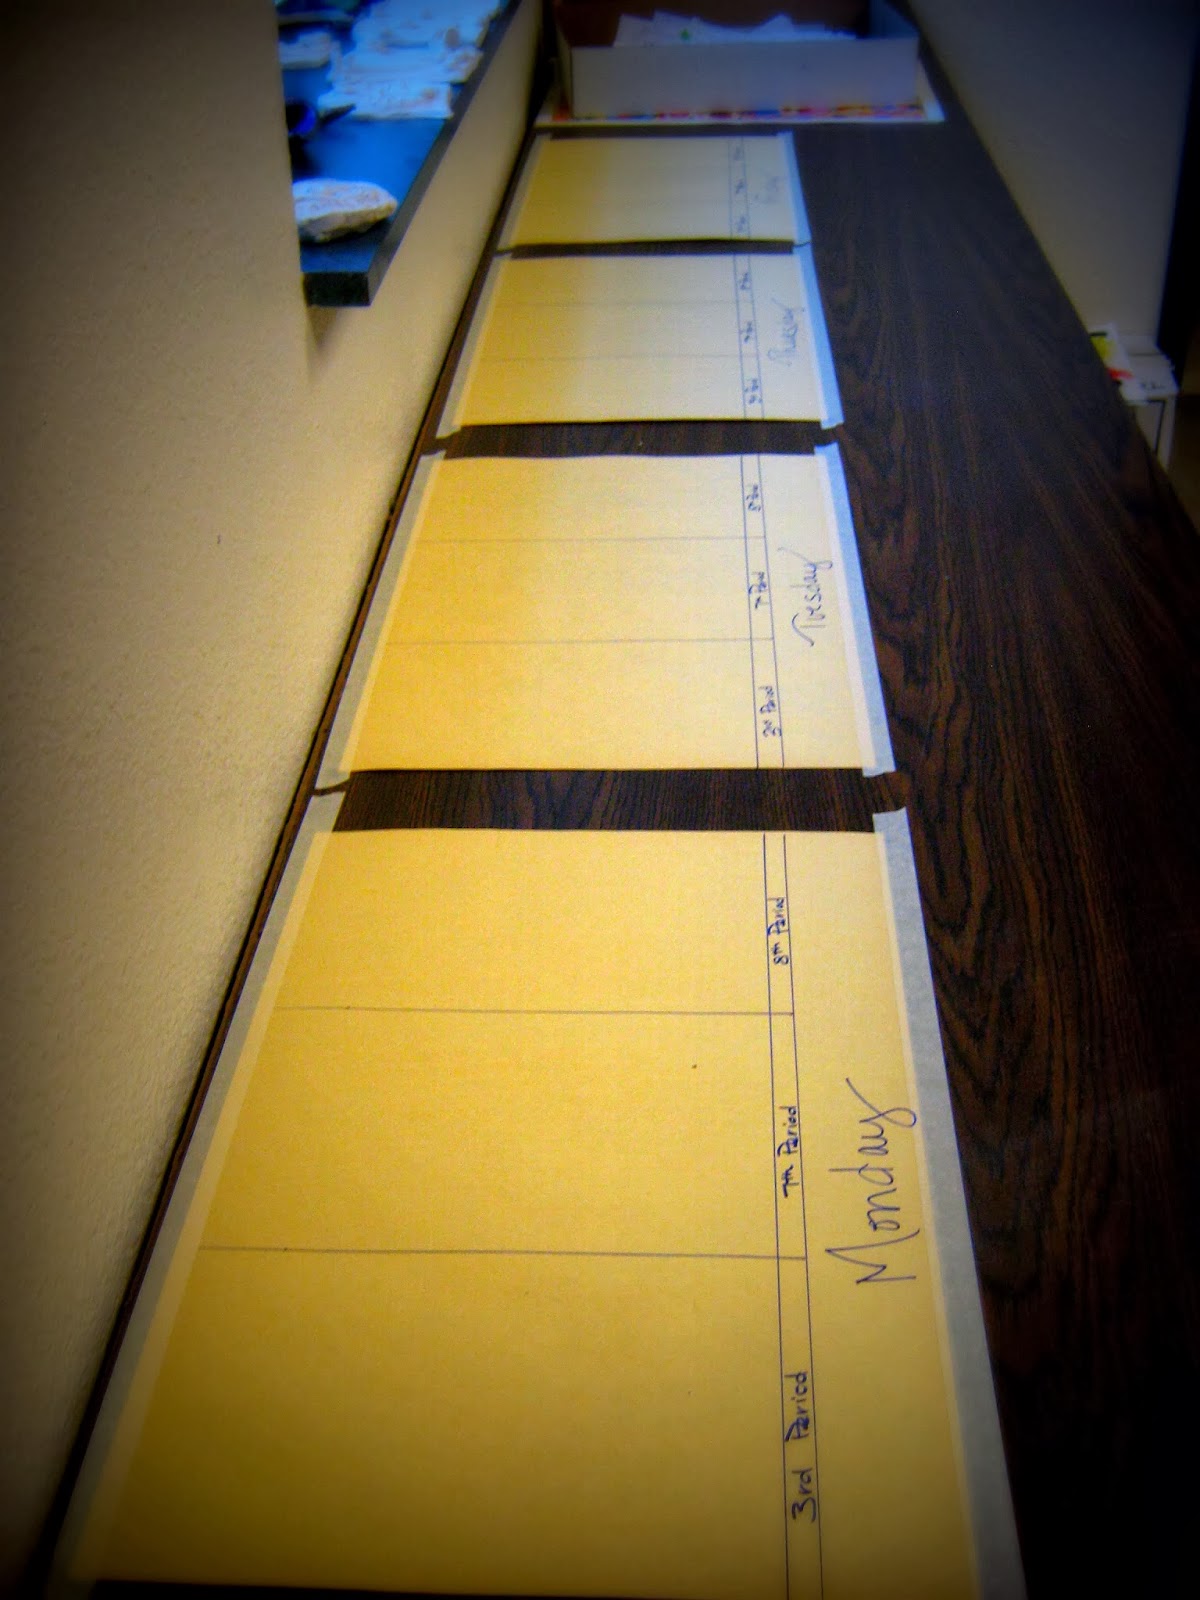
After cutting all the blocks (easy but a little tedious if you do all 300 at the same time). I organize them on the back counter by class. I have 4 days worth of students with 3 classes a day. I create these manila papers to keep all the blocks organized.
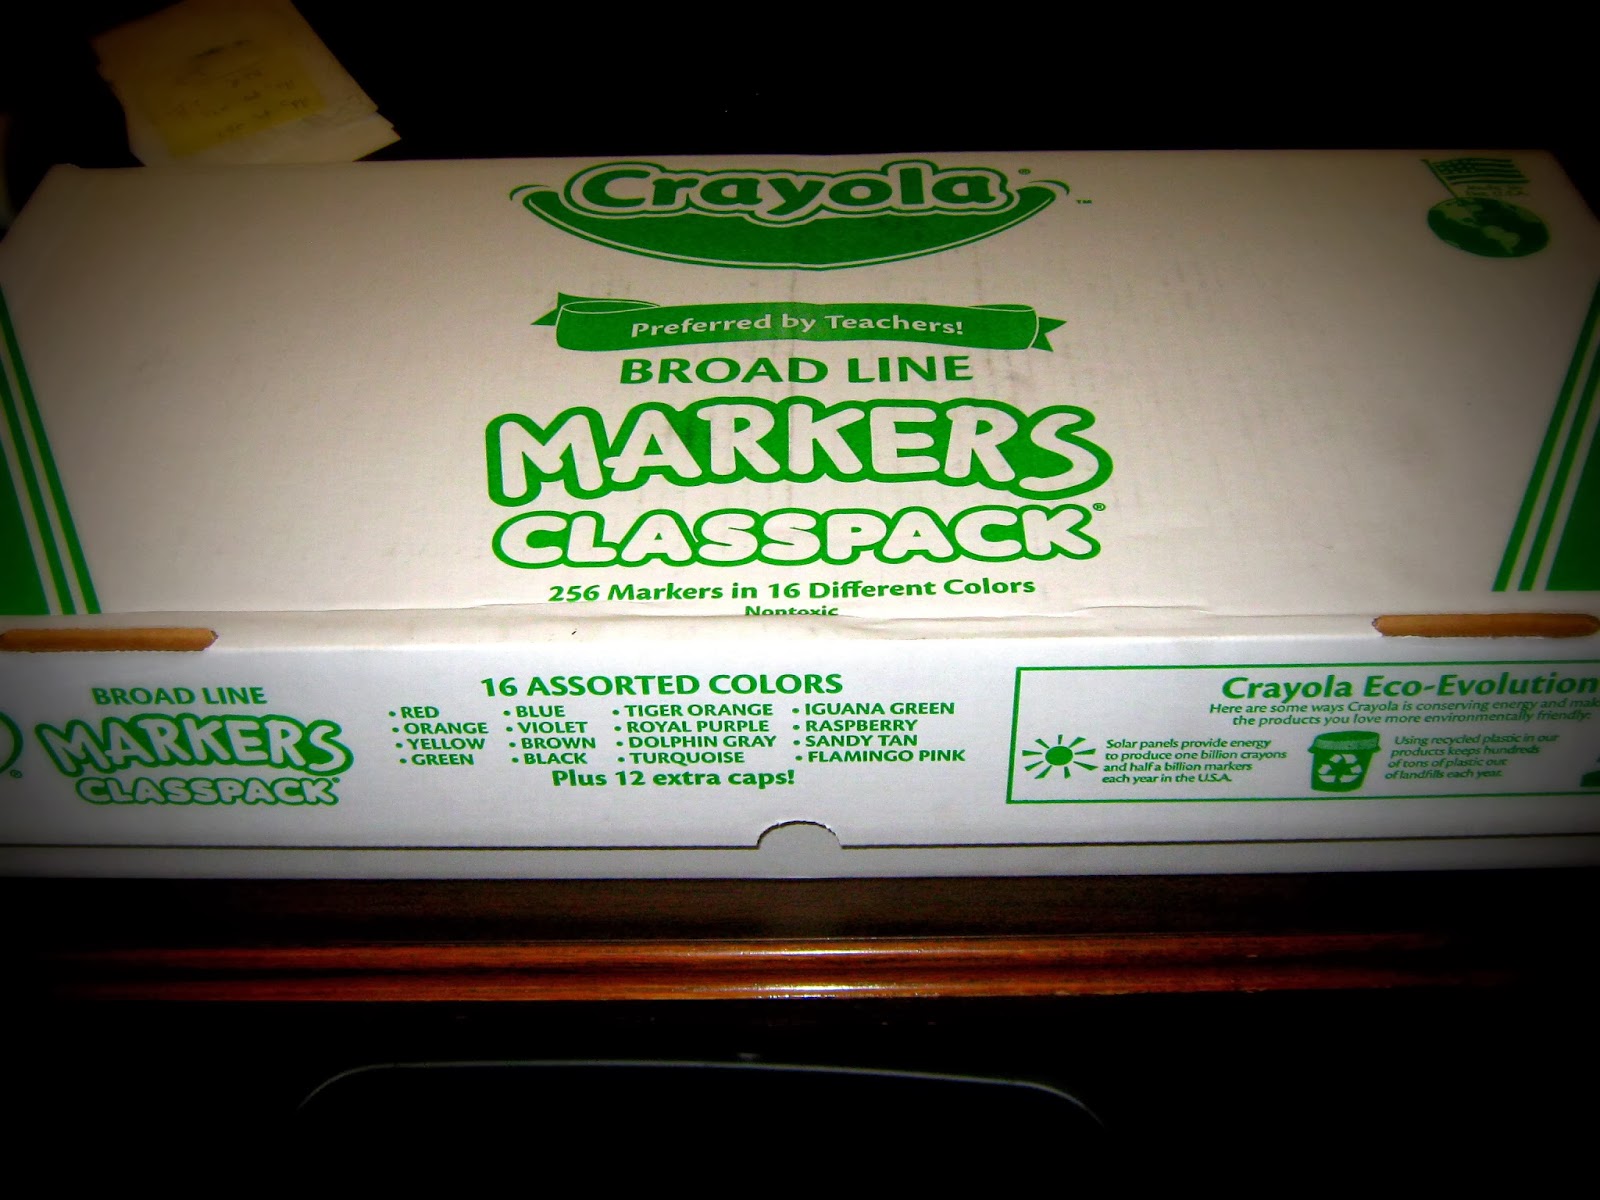
I also use this awesome marker box from my crayola order to keep my carving tools organized.
On the lid I have a reminder of what 4 tips should be in each handle. Students are responsible for checking their carving tool at the start and end of each class period. The cubbyholes make easy work of check to see if all the tools are turned in.
I cut 4x6 scraps of white paper for the students planning. When they draw their images using a "real" pencil they can then lay them onto the Saftey-Kut, rub it with a ruler and it will transfer.
When they are carving I always tell them:
but
We use the safety cutters and they only have one sharp side. If the students are using the unsharpened side they will "tear" the Safety-Kut and create cottage cheese. If they use the blade, they will get string cheese. We love string cheese.
 |
| (one classes's string cheese) |
 |
| ready to print? Nope. Fix it first! |
Peer teaching!
I demo how to print at the end of our first day of carving. When we come back to class there are always a few students ready to print. I work one on one with them at the 3 printing stations. They then become my "master printer" and it is their job to teach the person after them. This continues throughout class. Every student becomes the teacher to another student. It is awesome to listen to them.
Each student must create an edition of 3 with a limit of 4 prints. They print two 4x6 prints on a 8.5x11 piece of computer paper. We then trim and number them the following week. You can check out some of our other printmaking projects here and here, here, here and here.


Not a fan of EZ Cut print blocks, but I am a fan of your excellent organization, teaching methods, your links to web-galleries. I need to know how to do that! Thank You
ReplyDeletethank you...
Delete