Thursday, February 27, 2014

Our Dream Rocket

I signed my celebrating creativity afterschool kids up for The Dream Rocket project a long time ago as they were sponsoring a show in Nebraska. With the deadline quickly (it is tomorrow) approaching it was time to get on it.  We met last Monday to come up with our idea.  On Tuesday we used Phyl's toothpaste batik mix to cover our fabric.  We met this Monday to paint the image and Tuesday to clean them up.  We finished them up on Wednesday and Thursday.  

Image One:  A salute to Orville Carlisle of Norfolk Nebraska... he invented model rocketry  

Image Two:  Floating Along:  hot air balloons traveling over the beautiful plains.

They are beautiful and I am very proud of them!

 Because we have to send off the large pieces, each student was also able to create a small 6x6 inch square to keep.  They are awesome also!


Wednesday, February 19, 2014

Shaving cream, toothpaste and lotion...

I had to laugh the other night as I was checking out at our local dollar general.  I had just bought them out of $1 shaving cream, $1 toothpaste and $1.50 aloe vera lotion.  You see we are working on a lot of fun things right now.

My 5th graders are finishing their food drawings/paintings, finishing their marbleized quotes, handing back all their artwork and preparing for Doodle for Google.  I will post more on their food drawings/paintings later.  The marbleized quotes come from an image I had pinned from artisan des arts a long time ago.  A while back I was having a sub and they needed an easy lesson.  My students worked during those classes to write out their quote(s).  This week we worked through the shaving cream marbleizing process.
I covered a section of the counter with shaving cream.
This amount would do an entire class of 24-27 students.  
I added liquid watercolors that I created.
You can see how here
We ran a paint brush through the shaving cream to mix the colors. 
The student put their image into the pile, face down.
After they "danced" their fingers over it, we would pull it off.  
We we scrapped off the shaving cream, the marbling pattern was left. 
... just an image with more marbleizing.
6th graders are working researching for their portrait project... but that is another post.  

So what about the lotion and toothpaste.  Well I have posted in the past about Celebrating Creativity. This year I have been horrible about meeting with students after school.  Well, I signed the kids up to create two mural pieces for the Dream Rocket project and an art show at Strategic Air and Space Museum. Well they are due March 1st so it finally time to get on it... right?  We we are using Phyl's (from There's a Dragon in my Artroom) toothpaste batik process for our project.  Monday we drew out ideas, Tuesday we "toothpasted" and next week we will paint. 
Here is one of our image's ready to dry.  
(Since my husbands grandfather invented the toy model rocket, we had to pay homage)

I am also letting each of them create a 6x6 square image for themselves.  
We also had fun playing with left over shaving cream to create invitations for our school board. 
.. although I had to remind Anden the scrappers and shaving cream did not make an ice cream sandwich (funny girl!).


Tuesday, February 11, 2014

Collaborative Wall Project

I start every year off with a collaborative project for my 5th graders.  It accomplishes several things:
  • they feel ownership in the room as their image covers our largest wall
  • I see a brief glimpse into their artistic skills
  • they fill out the back of their 4x6 card to tell me more about themselves
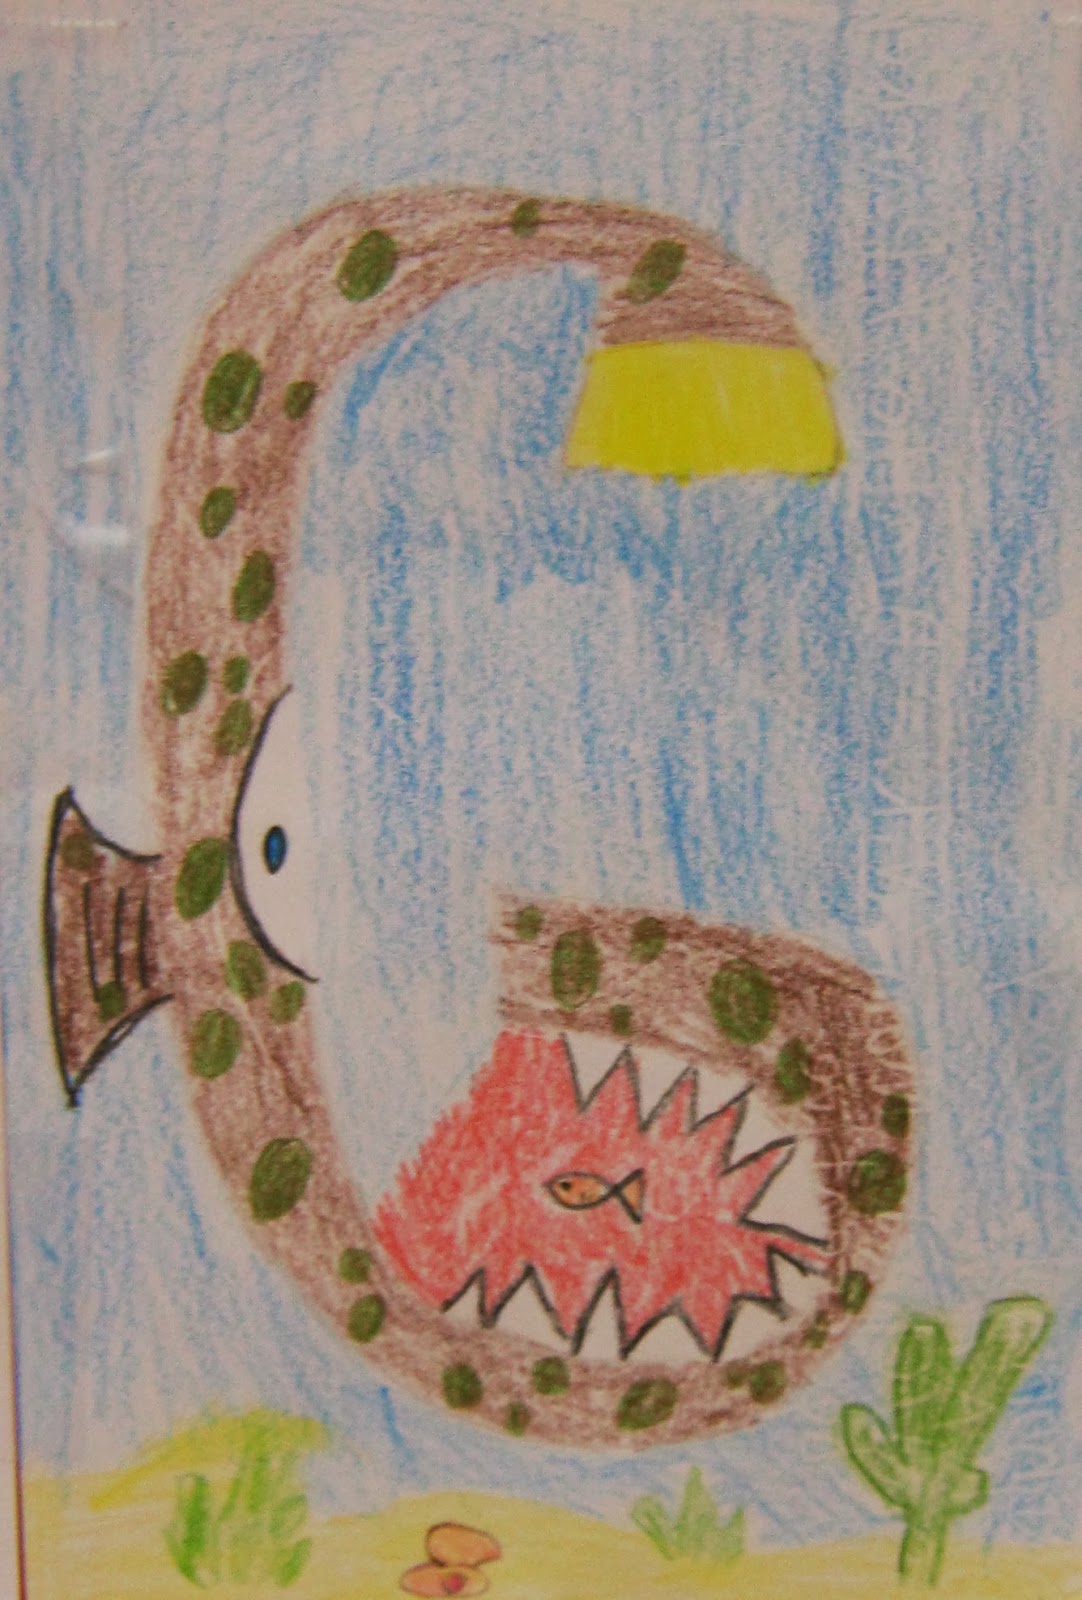
This year we did illuminated letters.  They created an image using their first initial and a material of their choice.


 and here is the entire wall.  I love it so much!

You can check out some past walls here

Tuesday, February 4, 2014

Radial Design, take 2

A while back I posted about a radial design project that the 6th graders created.  Those were the images from only 1/2  of the students.  Those students were missing out on two days of school and therefore worked on regular copy paper that they could take home.   They also had their choice of what materials to use.

The other half created their images on tracing paper using markers or colored pencils.  The tracing paper images are my favorite (but don't tell anyone).  They just GLOW.  I could see them frame matted in black and shinning in a window but I also love them mounted onto white paper.

To create them we:

  1. I cut 4" squares in half.  Each student was given a triangle.
  2. They wrote their name out on their triangle making sure it touched all the edges. 
  3. They traced their name in black sharpie, which showed through to the back so they also traced it in reverse on the back.  
  4. Using their triangle, they worked their way around the paper making sure they had one point in the middle, one edge on the edge of the paper and the letters touched each other.  
  5. After drawing out their name, they filled the "space" with crayola marker or colored pencil. 


Check out more images at artsonia.

Friday, January 31, 2014

Connected...

I love using technology to help my kids see their place in the global world.  On Wednesday we were going to create a warm and cool grid project on the computer.  By pure chance a blog post came through my feedly account that showed students in Belgium doing the same thing!  They were working with paint and we were going to be working on the computer program paint.  It was so much fun showing my students the work from around the globe so they could get to work on their projects...

The students from Belgium's inspiration images:

photo credit
Some of my students work:


Check out more at Artsonia


Thursday, January 30, 2014

3 requirements

I have found my students taking longer to get projects done this year and they are finishing at different rates. I have been trying to work through this with a small part of each project that can be done ahead of the lesson.  For this project students were asked to create an ocean creature that no one has ever seen on a piece of grey paper.  These were supposed to be black and white with a little bit of color.

The next time I saw the students we started to talk about the element of SPACE.  We shared how overlapping, size and placement can help us know what is closer and what is farther away.  They were then given this assignment:  
              - Create an image that is underwater (we created our water images using watercolor techniques of salting, saran wrapping, lifting and layers) with at least one grey fish and shows space by using overlapping, size and placement.  

It was pretty fun to see what they came up with...


Check out more at Artsonia.com
Here is the grade sheet I used.

Monday, January 27, 2014

Paint Samples= Value City

My husband is runs his own painting company so he spends a lot of time at our local Diamond Vogel store.  At the end of last school year Diane (from the paint store) gave him a LARGE BOX of discontinued color paint samples.
I started thinking about what to do... value scales for sure.  sorting by color game?  perfect cartoon squares?  bulletin board borders? 
What I came up for the first round (yes there was that many) are these value scale cities.

As students finished an assignment they choose 5 paint samples and started drawing their city information on them.  I didn't even tell them what we were going to do until the next week.  

The next week we started class talking about value.  In every class but one, a student blurted out "were those papers we drew on last week a value scale?"  Yes! Yes, they were.  The students were also given the challenge of creating a changing value background.  That means their sky area needed to go from light to dark or dark to light.
 They did a great job and I loved the stories they wrote out about what is happening in their city.
Check out the grade sheet here. 

You can check out more images at Artsonia.